Getly
Getly
By the end of this guide, you will be able to trace a shader from a 3D vertex to a colored screen pixel, choose the right stage for an effect, and diagnose common visual problems. You will also know why a small shader change can make movement feel crisp, heavy, soft, or strangely disconnected from the game world.
Start with the GPU’s drawing pipeline
A game sends the GPU a mesh, material settings, textures, camera data, and lights. The GPU processes that information through small programs called shaders. Each shader handles one job in the drawing pipeline, and the two stages you will use most often are the vertex stage and the fragment stage.
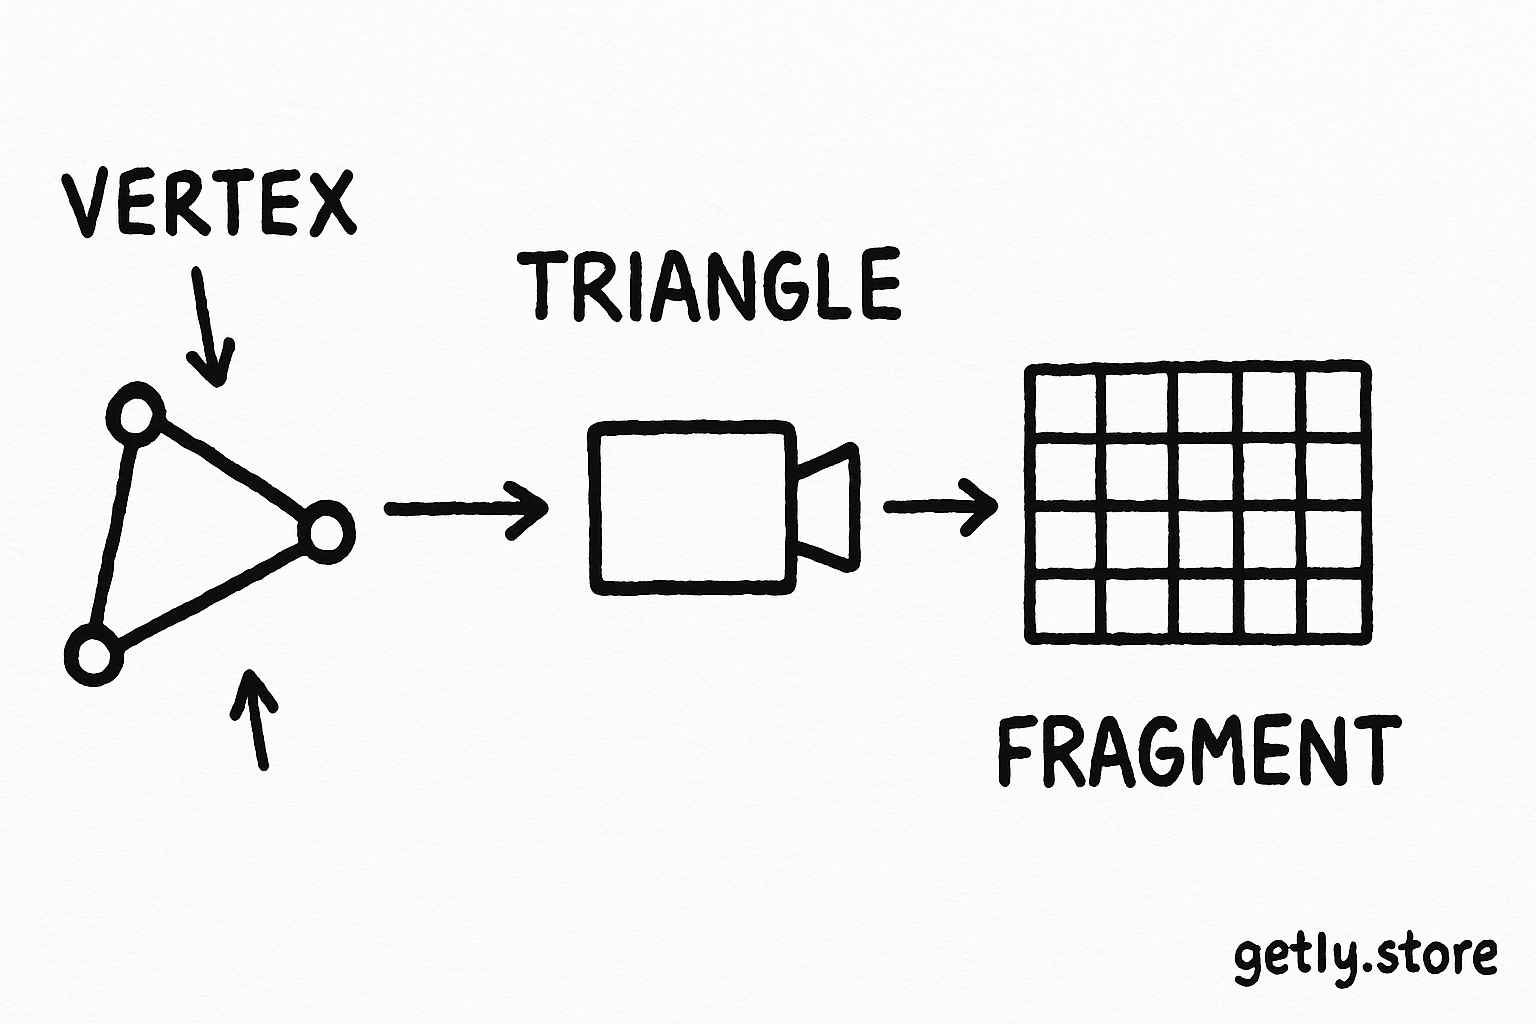
The vertex shader works on mesh points. A mesh might contain thousands of vertices, and each vertex carries data such as position, normal direction, texture coordinates, and color. The shader moves those points into the camera’s view so the GPU can build the final shape on screen.
The fragment shader works on the screen samples that fill the shape. The GPU creates fragments where a triangle covers pixels, then the fragment shader calculates color, transparency, lighting, reflections, and other surface details for each sample.
Mesh enters the pipeline
The game supplies vertices, triangles, textures, and material values.
Vertex shader positions points
The shader converts each vertex into camera-facing screen coordinates.
GPU fills triangles
The GPU creates fragments across the visible area between vertices.
Fragment shader colors samples
The shader combines lighting, textures, and surface rules for the final image.
Use the vertex shader to control shape and motion
The vertex shader decides where the mesh appears. A basic shader transforms each vertex from object space, the model’s local coordinates, through world space, view space, and projection space. Those transformations place a character beside a wall, aim the camera, and compress depth into the screen’s perspective.
You can also move vertices for animation and visual effects. A vertex shader can bend grass toward the wind, make a flag ripple, inflate a character during a squash-and-stretch pose, or displace terrain with a wave pattern. The shader changes the geometry’s position before the GPU fills the triangles.
Vertex effects suit broad, structural changes. If you want every point on a leaf to sway, move the vertices. If you want a highlight to slide across a sword without changing its outline, use the fragment shader instead. That decision matters because a vertex shader cannot create detail between sparse vertices. A low-resolution plane cannot produce a sharp, individually shaped ripple unless you give it enough vertices to move.
Do
- Use vertex motion for bending, waves, wobble, and silhouette changes.
- Check the mesh density before adding fine deformation.
Don't
- Expect a vertex shader to add surface detail where the mesh has no useful points.
- Move vertices without checking collision, shadows, and camera framing.
Why vertex motion changes game feel
Your eye reads the outline of an object before it reads small texture details. A sword that arcs during a swing can communicate force even when the animation uses the same keyframes. A character whose body compresses on landing can make the impact feel heavier. A camera-facing tree that sways with a short delay can make wind feel physical.
Timing controls the result. A deformation that starts a few frames after an attack can suggest drag. A deformation that snaps back too soon can make the object look rubbery. Keep the visual delay consistent with the game action, then compare the effect at normal play speed rather than in a paused editor view.
Use the fragment shader to control surface and light
The fragment shader receives values that the GPU interpolates across each triangle. Those values can include texture coordinates, vertex colors, normals, world position, and other attributes. The shader uses them to calculate the color that reaches each screen sample.
A fragment shader can sample a color texture, multiply it by a tint, calculate a diffuse light response, add a rim light, mix in a normal map, or discard parts of a surface for leaves and fences. It can also create stylized bands, outlines, holograms, dissolve effects, water, glass, and animated patterns.
Fragment work depends on screen coverage. A tiny prop may need only a few hundred fragment calculations, while a full-screen effect can run across millions of samples. Transparent objects can cost more because the GPU may process several overlapping surfaces at the same location. A shader with a short instruction list can still cause a performance problem if it covers most of the screen.
These bars show a useful comparison for a scene where large surfaces cover most of the frame. They do not describe a universal GPU split. Mesh density, resolution, overdraw, lighting, and hardware change the balance.
Textures provide information, shaders provide rules
A texture stores values. A shader decides what those values mean. A grayscale texture might control roughness, emission, opacity, or a dissolve threshold. The same image can produce different results when the shader reads it through a different material channel.
That relationship explains why a material can look wrong even when its texture appears correct. The shader may expect linear data but receive color-corrected data. It may read the wrong UV channel, invert the normal map’s green direction, or multiply the texture by a tint that pushes the result toward gray. Test the texture alone, then test each lighting term one at a time.
Connect shader choices to game feel
Game feel comes from the player’s ability to predict an action and read its result. Shaders support that communication through timing, contrast, motion, and material response.
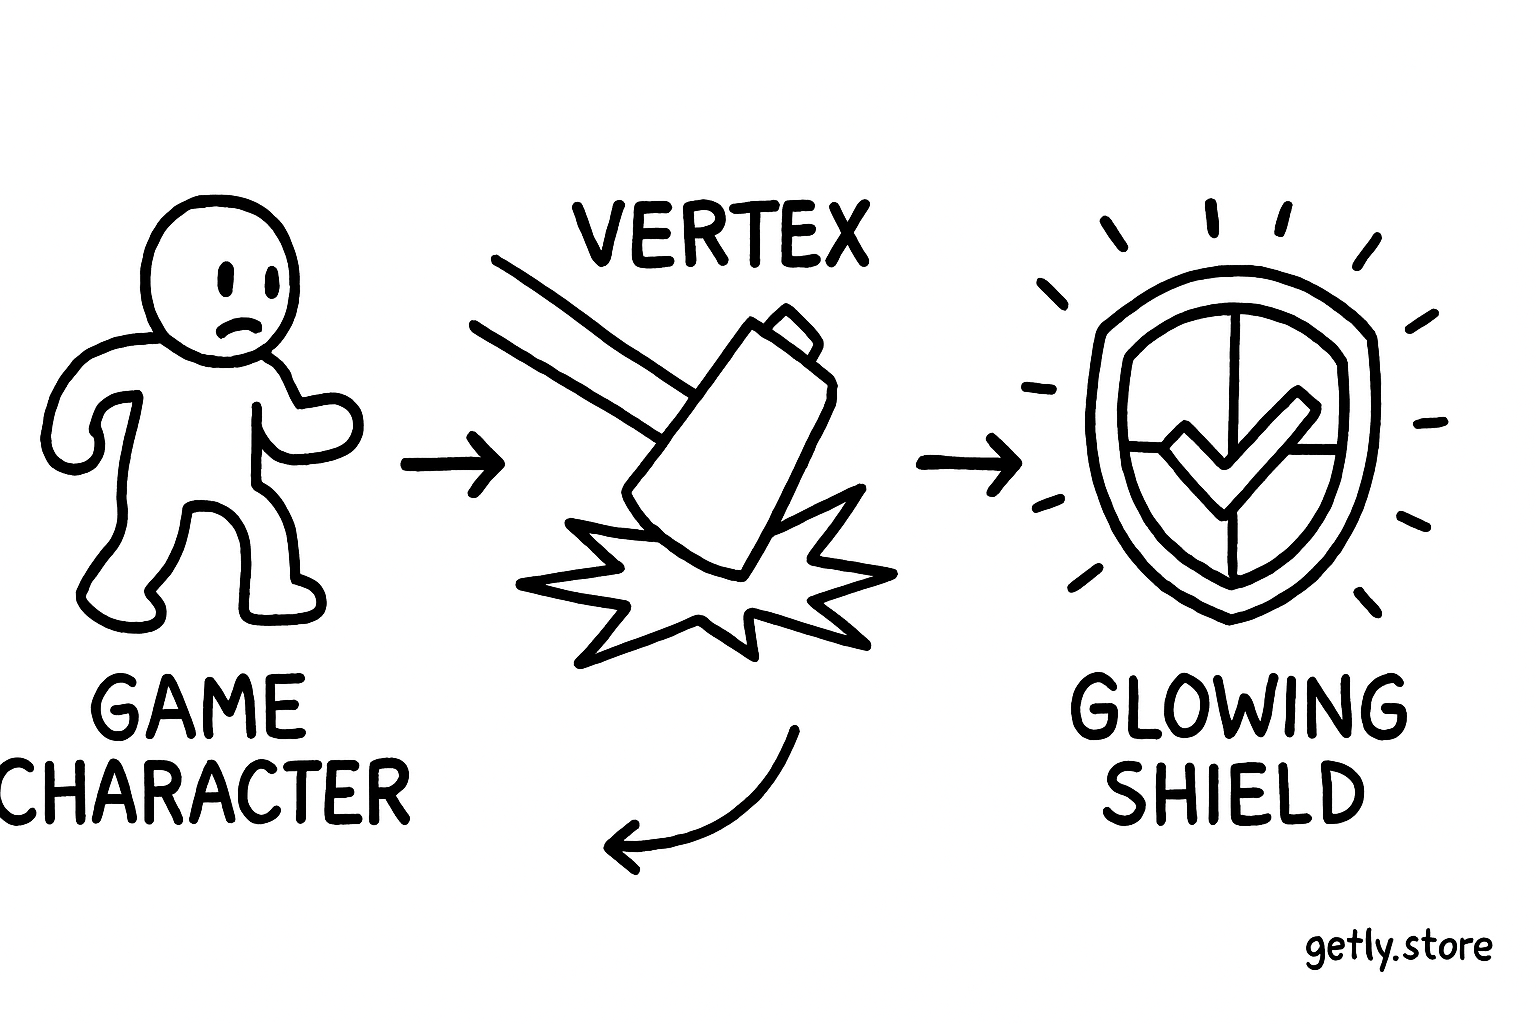
Use a vertex effect when the object itself should appear to move. A hammer head can squash slightly at contact, or a projectile can stretch along its travel direction. Use a fragment effect when the object should keep its shape while its surface communicates state. A damage shader can flash a red tint, a charged ability can brighten its emission, and a selected item can gain an outline.
Keep the effect tied to a readable event. Trigger a brief flash at the same moment that the hit registers. Fade a shield response over a known duration. Match the direction of a trail to the object’s velocity. Players notice timing errors faster than they notice a small difference in shader code.
Stylized projects often combine simple lighting with strong color rules. An anime material may use a few deliberate light bands instead of a smooth gradient. You can study that workflow in an anime stylized shader, then recreate the parts that suit your own art direction rather than copying every setting.
Build and test a shader effect
Start with one visible goal. Write “make the landing feel heavier” or “show that the shield is active,” then choose the stage that can express that goal. A clear target prevents a material graph from turning into a pile of unrelated tweaks.
- Create a neutral baseline. Use a plain color and simple light before adding noise, fresnel, outlines, or animation. You need a reference for every later change.
- Expose a small set of controls. Add color, intensity, speed, scale, and duration only when the effect needs them. Named controls make iteration faster than editing constants buried in code.
- Test at game speed. Check the effect during movement, camera changes, and combat. A shader that looks elegant on a still model may disappear during a real encounter.
- Test extreme values. Push brightness, deformation, opacity, and speed beyond the intended range. Extreme tests reveal clipping, seams, flicker, and unstable math.
- Profile the scene. Compare a small object, a crowded scene, and a full-screen view. Watch fragment cost, transparency overlap, texture samples, and shader variants.
Keep the effect reversible during development. Add a material toggle or a low-intensity setting so you can compare the shader with the baseline in the same scene. That comparison helps you judge readability instead of rewarding novelty.
Common shader mistakes
Creators often choose the right idea but place it in the wrong stage or test it under the wrong conditions. These mistakes appear in both custom shaders and purchased assets.
- Using geometry for a color problem. If you only need a glow, tint, or highlight, moving vertices adds complexity without improving the surface.
- Using a fragment trick for a silhouette problem. A bright edge cannot make a flat plane behave like a curved object from every camera angle.
- Ignoring object scale. World-space waves, outlines, and distance fades can change size when you resize an asset. Test the material on the smallest and largest intended objects.
- Overusing transparency. Transparent layers can overlap and force extra fragment work. Use opaque or masked materials when the design allows it.
- Animating with frame count. A pattern tied to frame number changes speed with frame rate. Use elapsed time so the effect keeps a stable rhythm.
- Skipping color management checks. Emission, tint, and texture values can look different across display settings. Compare bright and dark scenes before you lock the palette.
- Ignoring shadows and depth. A displaced mesh may move in the main view while its shadow uses a different path. Apply the relevant effect to shadow and depth passes when the pipeline requires it.
Do
- Compare the shader with a plain material in the same camera shot.
- Test performance at the target resolution and on the target class of device.
Don't
- Judge a shader from a still preview alone.
- Expose ten controls when two values can describe the art direction.
Use purchased shader assets without losing control
A purchased shader can shorten setup time, but you still need to understand its inputs. Read the asset’s material controls, identify which values drive vertex motion and which drive fragment color, and test the material on a simple object before applying it to a full scene.
Keep a small test scene with a sphere, a plane, a transparent object, and a moving camera. This setup exposes lighting, UV, depth, transparency, and scale problems quickly. Save a copy of the original material before you tune it, then record the values that work for your project.
For a character or prop, pair the shader with geometry that supports the effect. A stylized surface shader cannot fix stretched UVs or a broken normal map. A game-ready model with clean materials gives the shader useful inputs and makes the final result easier to debug. You can browse compatible digital assets at Getly when you need a starting point.
A practical checklist
- Can you describe the effect in one sentence?
- Does the effect change shape, surface color, or both?
- Does the mesh contain enough vertices for the deformation?
- Does the material behave correctly at different distances and scales?
- Does the timing match the action that the player needs to read?
- Does the scene remain responsive when several copies appear?
Answer those questions before polishing. Vertex shaders give objects motion and form. Fragment shaders give surfaces color and response. When you assign each job to the right stage, you can tune visual feedback with fewer side effects and make game actions easier to read.
Frequently asked questions
What does a vertex shader do?
A vertex shader calculates where each mesh vertex should appear. It can handle camera transforms, object movement, bending, waves, squash and stretch, and other changes to the mesh shape.
What does a fragment shader do?
A fragment shader calculates surface color for screen samples covered by a triangle. It can combine textures, lighting, transparency, emission, outlines, masks, and stylized shading rules.
Should I use a vertex shader or a fragment shader for a glow?
Use a fragment shader for the glow’s color and intensity because the effect changes the surface appearance. Add vertex motion only if the glow also needs to change the object’s outline or shape.
Why can a simple shader hurt performance?
A shader can run across a large part of the screen or across several overlapping transparent layers. Fragment workload grows with screen coverage, texture samples, lighting calculations, and overdraw.
How can shaders improve game feel?
Shaders make actions easier to read through timed flashes, color changes, outlines, deformation, trails, and material responses. Match each effect to the action’s timing and choose the vertex or fragment stage that fits the visual change.