Getly
Getly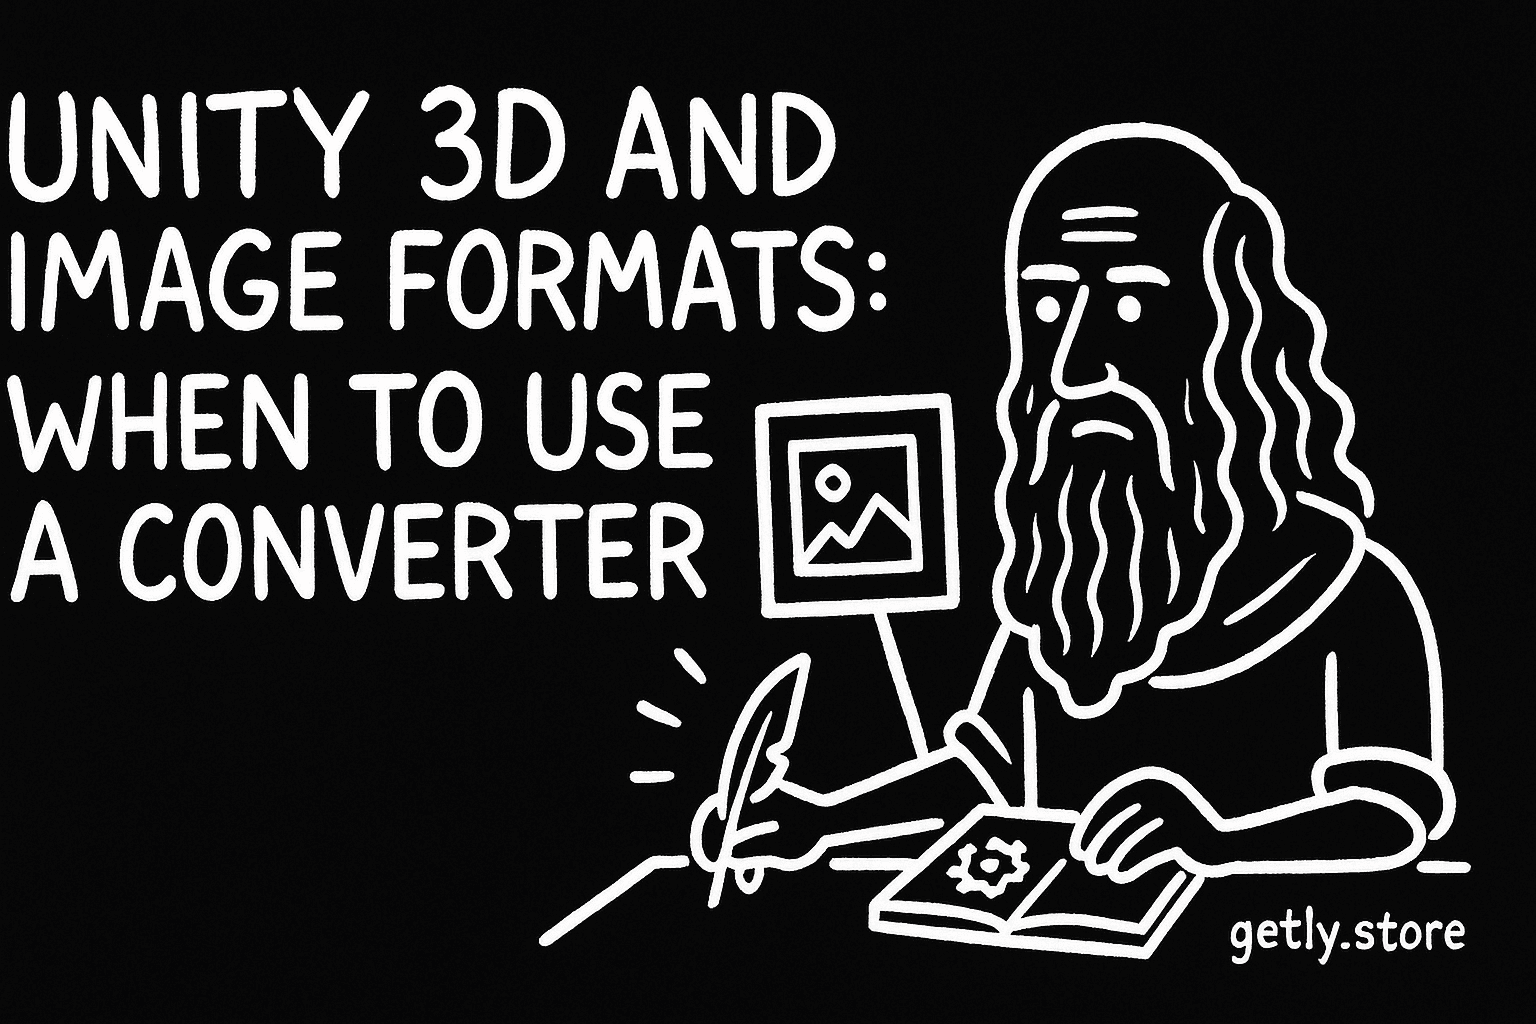
By the end of this guide, you can identify the model and image files Unity imports, check a digital asset package before buying or downloading it, and decide when you need a converter. You will also know which files to keep together so materials, textures, and animations arrive with the model.
Unity's current 3D Formats manual lists the file types covered by its import workflow. Use that list as your compatibility check, then inspect the asset's folder structure before you move anything into a project.
Start with the file extension
Look at the filename before you open a modeling program. The extension tells you which import path to test first, although it does not tell you whether the package includes textures, materials, rigs, or animation.
| File type | Common role | First Unity test |
|---|---|---|
| FBX | Model, rig, animation, and scene data | Place the file in the project Assets folder |
| OBJ | Static mesh geometry | Place the file in the project Assets folder |
| DAE | Collada model exchange | Place the file in the project Assets folder |
| 3DS | 3D model exchange | Place the file in the project Assets folder |
| DXF | CAD and drawing exchange | Place the file in the project Assets folder |
| SKP | SketchUp model exchange | Place the file in the project Assets folder |
Unity also imports common image files such as PSD, TIFF, JPG, TGA, PNG, GIF, BMP, IFF, and PICT. These files can supply albedo, normal, roughness, metallic, opacity, or other texture maps, depending on how the asset creator prepared them.
Keep the original extension during your first test. Renaming a file from .max to .fbx, for example, does not convert the file. A converter or an exporter must write the new file structure.
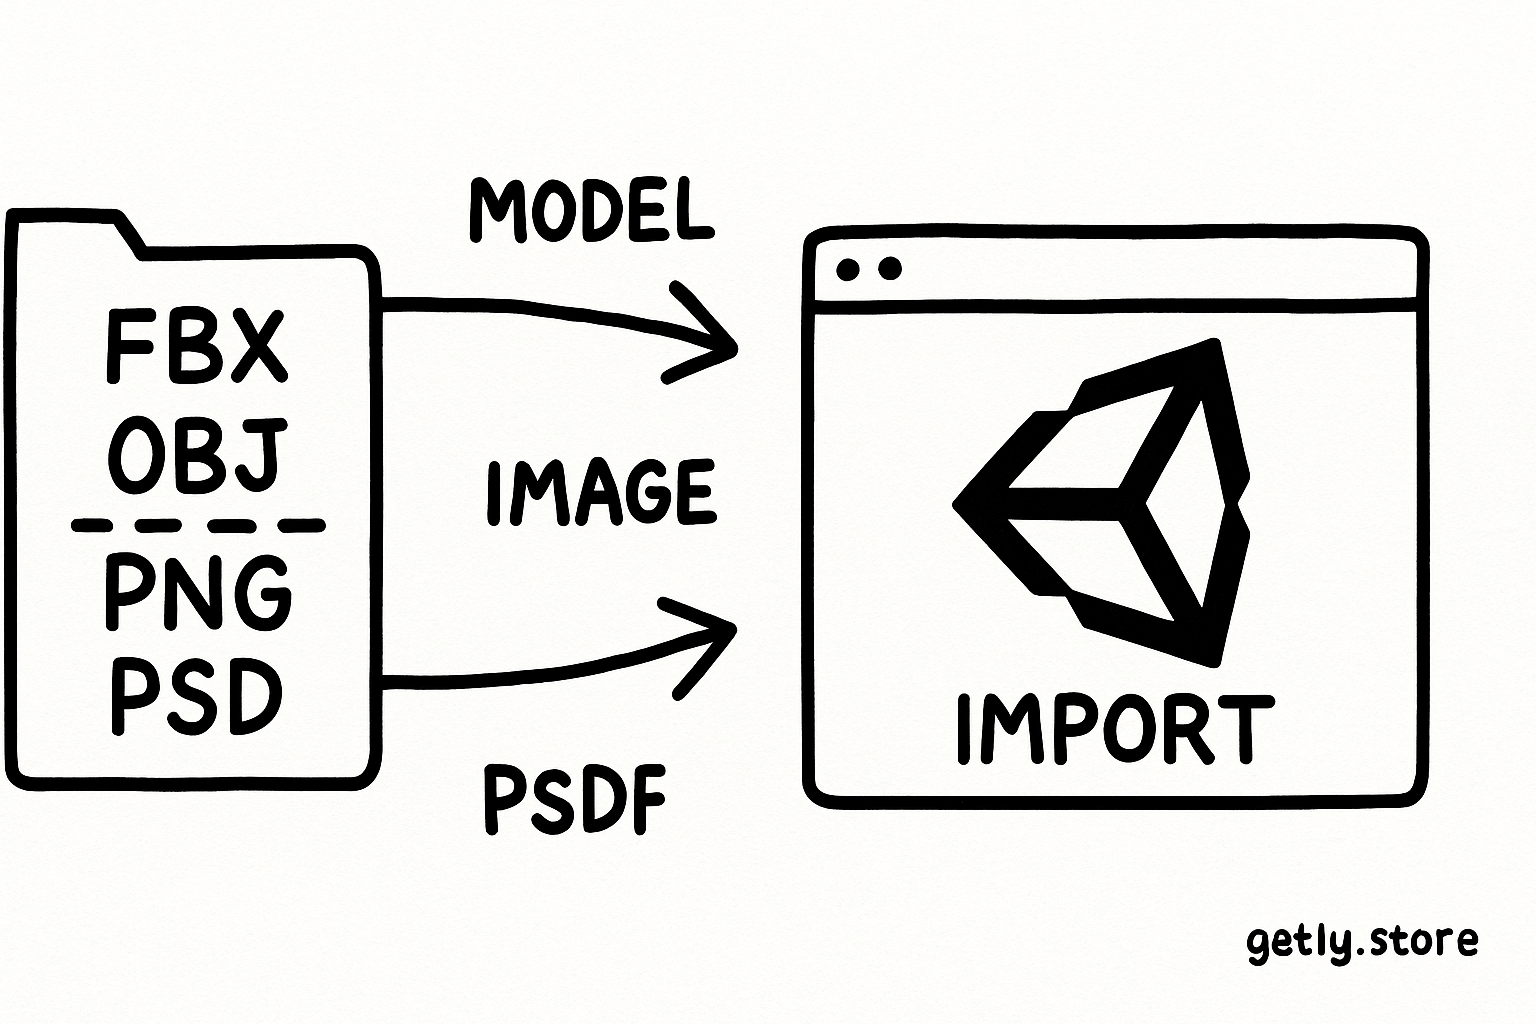
Choose the model format for the job
FBX usually makes the best starting point for a character, animated prop, or complete scene package because creators commonly use it to carry more than mesh geometry. Check the package description for the exact contents before you rely on that format. A file extension alone cannot promise a rig, animation clips, or embedded materials.
OBJ suits a static mesh when you need a simple geometry exchange. OBJ packages often sit beside one or more MTL files and image textures. Keep those companion files in the same relative arrangement while you test the model. If the mesh appears without color, Unity may have imported the geometry while the material references point somewhere else.
DAE, 3DS, DXF, and SKP can help when a creator supplies a model in one of those exchange formats. Test the supplied file before converting it. A conversion step can change scale, axis orientation, smoothing, material assignments, or animation data, so it should solve a clear compatibility problem rather than add an extra step by habit.
Inventory the package
Find the model file, image maps, material files, animation files, and any readme before importing.
Test the supplied format
Copy the package into a clean Unity project and inspect the imported assets before editing them.
Convert only the blocker
Use a converter when the source format falls outside Unity's listed import formats or the original exporter cannot produce a usable file.
Understand what image files do
Unity imports image files as texture assets. The image itself does not tell Unity whether it should become a color map, normal map, mask, emission map, or user-interface graphic. After import, select the texture and choose the correct texture type and color settings for its role.
Creators often name maps with suffixes such as _BaseColor, _Albedo, _Normal, _Roughness, and _Metallic. Treat those names as useful clues, not as proof. Open the images and compare them with the material instructions included in the asset package.
PSD and TIFF files can preserve a creator's working format, while JPG and PNG files commonly serve as delivery textures. TGA and other supported image types also appear in game asset packages. Choose the file that matches the supplied material setup instead of converting every image to one extension.
| Image file | Useful for | Check before editing |
|---|---|---|
| PSD | Layered source artwork or delivered texture | Confirm the package instructions and final texture role |
| TIFF | High-quality texture source | Confirm color space and intended map type |
| JPG | Color artwork with compact file size | Check compression around fine details |
| PNG | Color artwork or images that need transparency | Check the alpha channel and texture role |
| TGA | Game texture delivery | Check alpha and channel interpretation |
Know when a converter earns its place
Use a converter when the creator supplies a model format outside Unity's listed formats, when the source application cannot export a supported file, or when the supplied file imports with a problem that the source application can repair. A converter can also help you standardize several assets around one format before you build a larger project.
Start with the original application when you can. An exporter from the application that created the model has access to the scene's hierarchy, materials, bones, and animation tracks. A generic converter may see only the information that the source file exposes.
Choose FBX as the destination when the package needs a rig or animation and the source tool offers a reliable FBX export. Choose OBJ for a static mesh when you need a simple geometry handoff and do not need skeletal animation. Keep the source file as an archive so you can repeat the conversion with different scale, axis, or material settings.
A product such as Alien 2 Game Ready 3D Model can save time when its package includes a Unity project alongside other formats. You still need to inspect the included folders, because the Unity-ready project and the alternate model files may serve different workflows.
Do
- Keep the source model and converted copy in separate folders.
- Test one asset in a clean project before converting a whole library.
- Preserve texture names and relative folder paths during conversion.
Don't
- Rename an extension and call the file converted.
- Delete the original before checking scale, materials, bones, and animation.
- Convert images without checking alpha channels and map roles.
Check a purchased asset before you import it
Open the package and make a short inventory. Look for a model file, a textures folder, material files, animation files, scene files, and a readme. A complete package may include several model formats so you can choose the one that fits your project.
Read the asset notes for the target engine and software version. A folder named “Unity” may contain a ready-made project, while an “FBX” folder may contain source models for manual setup. Do not merge both folders into your project until you know which one you need.
Copy the asset into a temporary project first. Check the model's scale against a known object, rotate it to confirm its orientation, assign or inspect materials, and play any included animation. This small test catches missing texture paths before the asset reaches a production scene.
Fix the usual import problems
A gray or white model usually points to a material or texture setup issue rather than missing geometry. Select the imported materials, locate their texture fields, and assign the correct image maps. If the package includes MTL files or another material file, keep it beside the model while you test.
A model that looks too large or too small needs a scale check. Compare it with a cube or character of known size, then adjust the import settings or fix the source scene. Apply the correction in the source application when you plan to reuse the asset across multiple projects.
A character that bends incorrectly needs a rig and skinning check. Confirm that the model includes the expected bones and that the animation file targets the same hierarchy. Convert again only after you identify which part of the hierarchy changed.
A model that faces the wrong direction needs an axis check. Record the correction you make, because repeating different rotations across scenes creates harder problems later.
Common mistakes
- Testing only the model file: You may confirm that the mesh imports while missing the textures and material files that make the asset usable.
- Converting before reading the package notes: You can discard a ready-made Unity project or choose an alternate file that lacks animation.
- Changing several variables at once: Convert, rescale, rename, and reorganize one at a time so you can identify the cause of a broken import.
- Replacing every image with JPG: JPG cannot preserve transparency, and compression can damage small lettering or hard-edged masks.
- Deleting the source: Keep the original so you can export again when a later project needs a different scale, axis, material setup, or animation selection.
FAQ
Which 3D formats does Unity import?
Unity's 3D Formats manual lists FBX, OBJ, DAE, 3DS, DXF, and SKP. Test the supplied file in a clean project before you convert it.
Which image formats does Unity import?
The manual lists PSD, TIFF, JPG, TGA, PNG, GIF, BMP, IFF, and PICT among the supported image formats. The correct file still depends on the texture role and the package's material instructions.
Do I need to convert an OBJ file?
Start by importing the OBJ with its companion MTL file and textures. Convert it only when the import produces a problem you can fix in another format, or when you need rigging and animation that the supplied OBJ cannot carry.
Should I convert every model to FBX?
No. Use the supplied supported format first. FBX makes sense for a workflow that needs hierarchy, rigging, or animation and where the source tool exports those details correctly.
Frequently asked questions
Which 3D formats does Unity import?
Unity's 3D Formats manual lists FBX, OBJ, DAE, 3DS, DXF, and SKP. Test the supplied file in a clean project before converting it.
Which image formats does Unity import?
Unity imports PSD, TIFF, JPG, TGA, PNG, GIF, BMP, IFF, and PICT according to its 3D Formats manual. Choose the format that matches the texture's role.
Do I need to convert an OBJ file?
Try the OBJ with its MTL file and textures first. Convert it when the import causes a specific problem or when you need rigging and animation that the OBJ package cannot carry.
Should I convert every model to FBX?
No. Test the supplied supported format first. Choose FBX when your workflow needs hierarchy, rigging, or animation and the source tool exports those details correctly.