Getly
Getly
By the end of this guide, you can choose a planner app, import a digital planner, and set up links, tabs, and handwriting tools without guesswork. You will also have a small weekly routine that keeps the planner useful after the first few days.
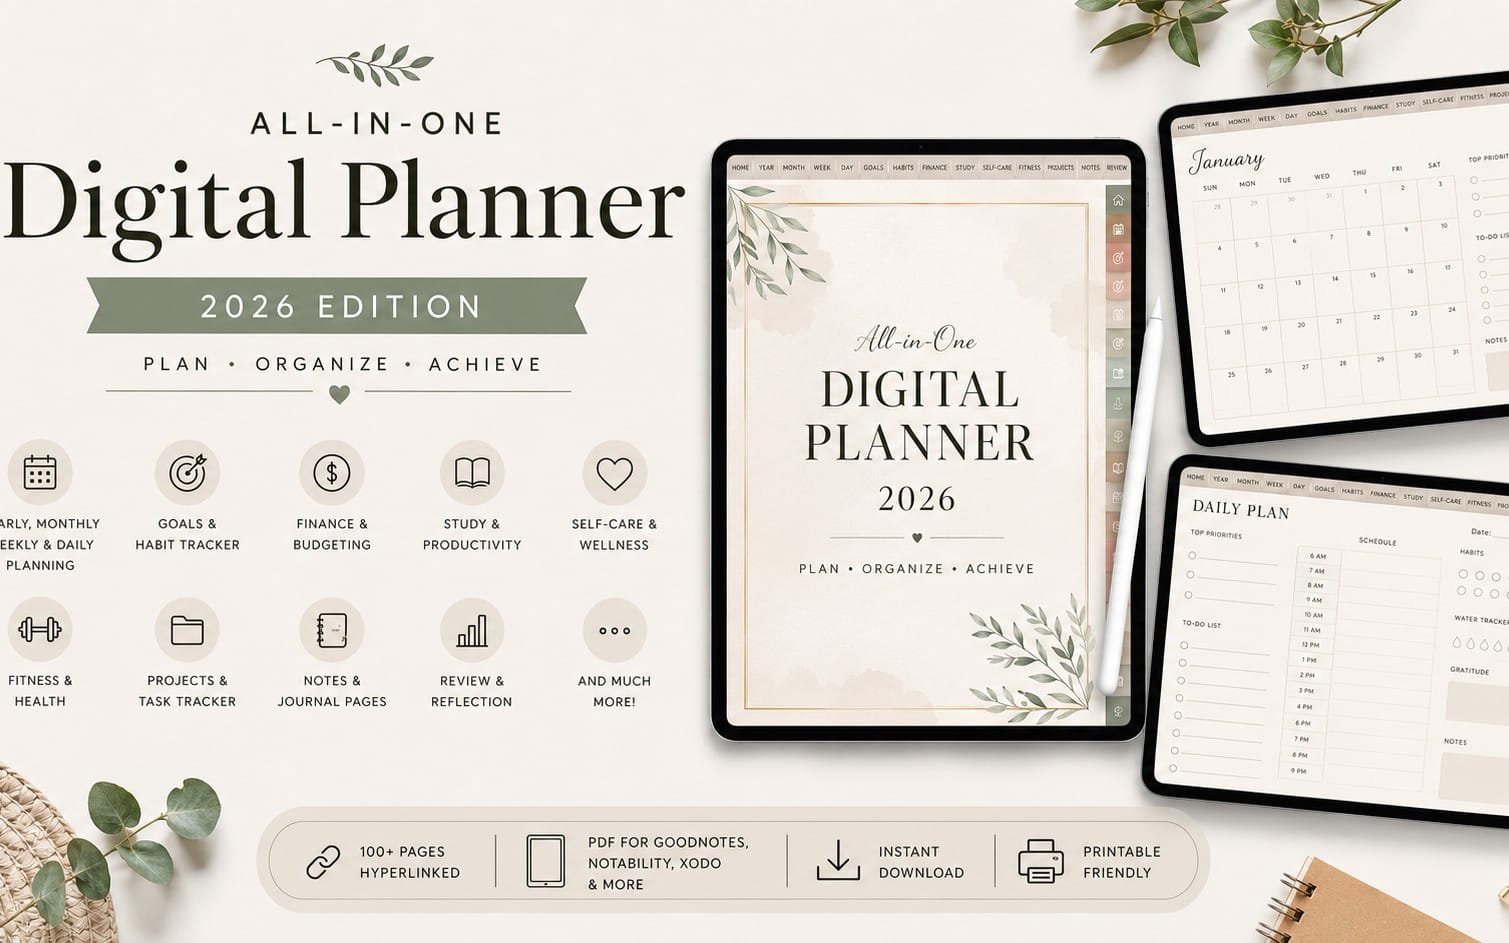
Most digital planners arrive as PDF files. You annotate them inside an app that supports PDF writing, typing, drawing, and links. Your setup should make daily planning faster than opening a blank document.
Choose an app that fits your device and planning style
Start with the device you already carry or use for work. An iPad paired with an Apple Pencil suits handwriting and visual layouts. An Android tablet works well with a stylus and apps such as Samsung Notes, Noteshelf, Xodo, or OneNote. An iPhone or Android phone can handle quick check-ins, but a larger screen makes a full planner easier to navigate.
Goodnotes, Notability, Noteshelf, Samsung Notes, Xodo, and OneNote can support PDF annotation in different ways. Check four capabilities before you commit:
- PDF import: The app should let you add a planner from Files, cloud storage, or your device.
- Handwriting and typing: Choose tools that match how you plan. A stylus suits time blocking, while a keyboard suits task lists.
- Hyperlinks: Linked tabs and calendar buttons need a reader that follows links from the page.
- Backup or sync: Your planner should remain available on your main devices without manual file transfers each day.
Pick one primary app for the planner. Moving the same file between several apps can create duplicate copies, missing annotations, or confusing sync conflicts. You can still use a separate calendar or task manager, but give each tool a clear job.
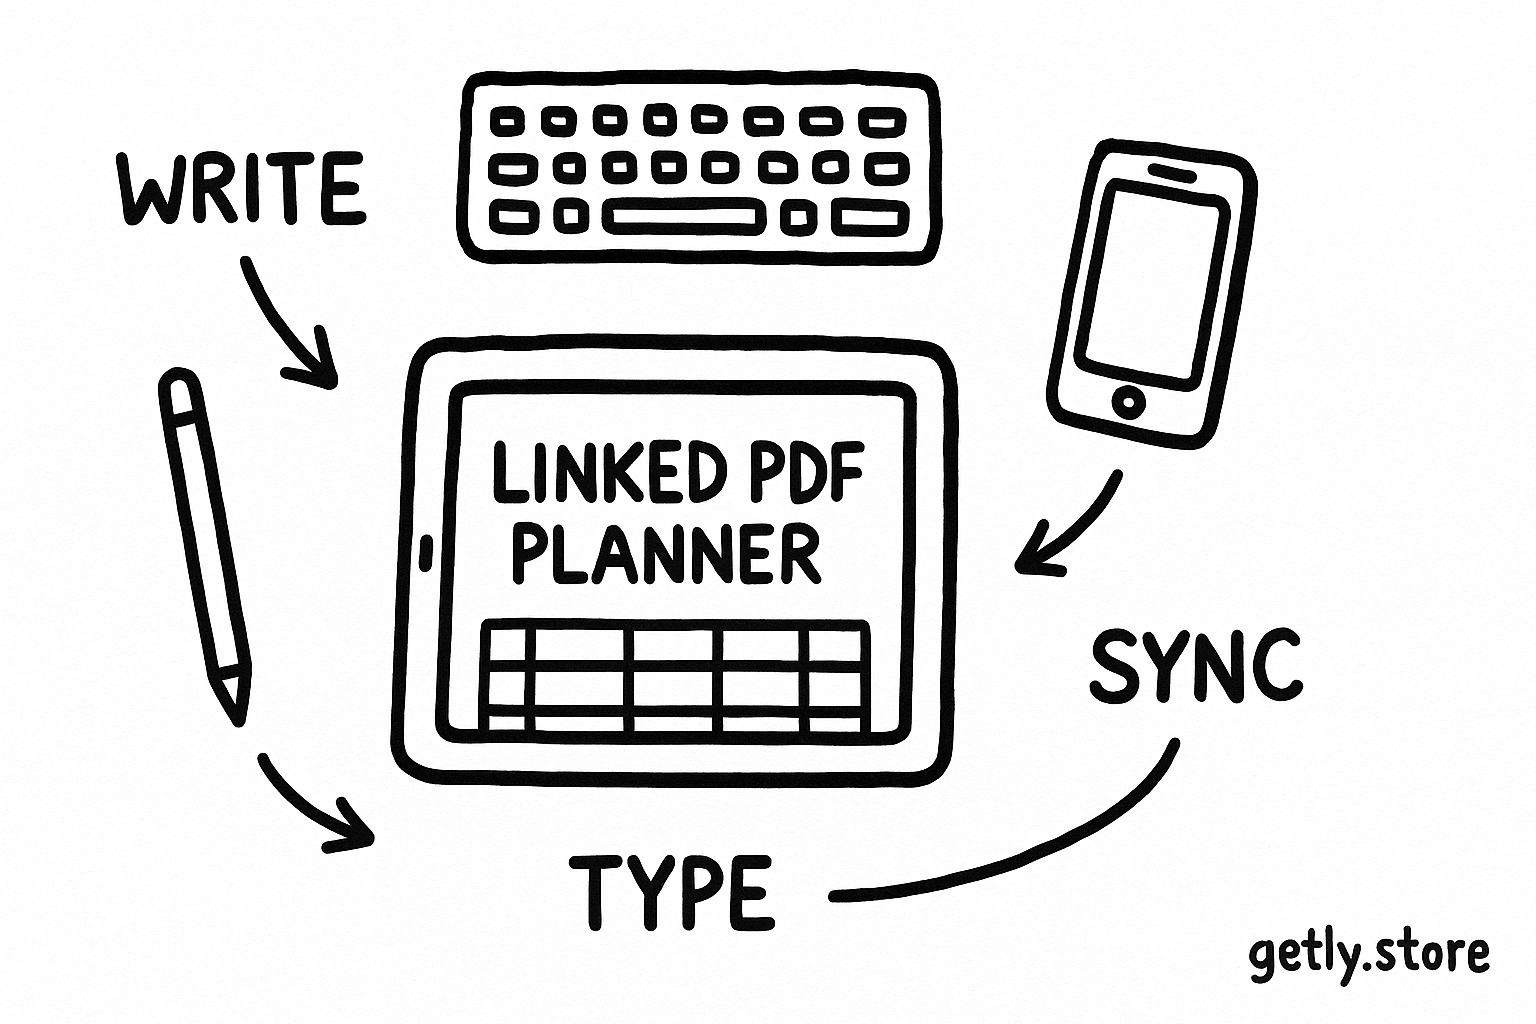
Use these figures as a selection prompt, not a ranking. Handwriting focus favors a stylus-friendly tablet. Typing focus favors a keyboard and quick text entry. Phone-first planning works best with short daily notes rather than dense weekly spreads.
Prepare and import the planner
Download the planner file to a location you can find again, such as Files, Google Drive, iCloud Drive, or your device's Downloads folder. Keep the original file untouched. That copy gives you a clean backup if you make a layout mistake or want to start a fresh year.
Open your planning app and use its import or add-document command. Select the PDF, then wait for every page to load before you start writing. Large planners can take a moment to process, especially on a phone.
- Open the first page. Confirm that the text and page design look correct.
- Tap a few tabs. Test a monthly, weekly, and daily link if the planner includes them.
- Write a short test note. Check pen thickness, color, palm rejection, and eraser behavior.
- Find the app's backup option. Turn on sync or export a copy before you fill in important plans.
Some planners include separate sticker files, cover images, or decorative PNG elements. Import those only after the PDF works. A crowded sticker folder can slow your first session and distract you from the planner's main purpose.
A financial planner such as Financial Planner 2026 may include pages for budgets, savings, and spending. Use the same import sequence for that file, then check every finance-related link before entering account details.
Save the original
Keep an untouched copy outside the annotation app.
Import the PDF
Add the file through your app's document or import command.
Test navigation
Tap tabs and calendar links before you write on the pages.
Create a backup
Turn on sync or export a second copy after setup.
Set up a planning workflow you can repeat
A digital planner works best when you give each page one job. Use the monthly view for fixed commitments and broad deadlines. Use the weekly view to choose what fits your available time. Use the daily view for appointments, a short task list, and notes you need during the day.
Start with three planning inputs:
- Calendar: Add appointments, classes, travel, and deadlines that already have a time or date.
- Task list: Choose the actions that move current projects forward.
- Reference notes: Store ideas, phone numbers, links, and information you need for a specific day.
Keep appointments separate from tasks. A two-hour meeting occupies two hours, while a task needs a realistic time estimate. This distinction stops you from filling a daily page with ten tasks that cannot fit around your calendar.
Try this weekly sequence:
- Review the next seven days of appointments.
- Choose up to three priorities for the week.
- Break each priority into actions that take less than an hour when possible.
- Place those actions into open blocks on the weekly or daily pages.
- Move unfinished tasks to a new date or delete them if they no longer matter.
Use a small set of pen colors. For example, black can hold plans, blue can hold work, and green can mark personal items. A limited color system lets you scan a page without turning decoration into another task.
Do
- Write the next physical action, such as “draft the product outline.”
- Leave open space for changes and unexpected work.
- Use linked tabs to move between views.
Don't
- Copy every task into every calendar view.
- Spend the first session decorating every page.
- Use color without a meaning you can remember.
Build the habit with a small review cycle
Schedule a ten-minute daily check-in at a reliable point in your day. Morning works if you need a plan before work. Evening works if you prefer to review what changed. Open the planner, check your appointments, select one priority, and move any unfinished task.
Use a weekly review for the bigger reset. Look at the coming week, clear stale notes, and choose three outcomes. Keep a short “inbox” page for ideas that arrive while you work. Process that page during the weekly review so random notes do not spread across five sections.
Track use instead of aiming for a perfect streak. If you skip several days, open the current page and write today's appointments and one next action. That restart takes less effort than reconstructing every missed day.
Creators can use the same workflow to test a planner before selling it. Give the file to a small group of testers, ask them to import it into their chosen apps, and record which links, page sizes, and writing tools cause friction. A planner earns repeat use when the navigation stays clear and the pages leave enough room for real handwriting or text.
Common mistakes that make planners harder to use
Importing the wrong file. Some downloads include a compressed folder, a preview image, and the actual planner. Open the PDF and confirm its page count before you begin.
Skipping the link test. A linked planner loses much of its speed if tabs do not work in your app. Test navigation before you add a month's worth of notes.
Using too many pages. Extra trackers can look useful, but each page adds another place to check. Start with monthly, weekly, daily, and one notes page. Add a tracker only after you know what decision it will support.
Relying on one copy. Sync errors and accidental edits can damage a working file. Keep the original download and make a backup after major changes.
Planning without time. A task list does not show capacity. Compare your tasks with your actual appointments, travel, meals, and recovery time before you assign dates.
Make the planner yours without rebuilding it
Spend your first week learning the planner's existing structure. Note which pages you open, which tabs you use, and where you lose time. Then adjust one feature at a time. You might add a recurring checklist, change a pen preset, or create a shortcut to your notes page.
Keep the system easy to explain. If you can describe where appointments, tasks, ideas, and reviews live, you can return to the planner after a busy week. That clarity matters more than a decorated cover or a long collection of trackers.
Start with the smallest useful loop: capture an obligation, place it on a page, choose the next action, and review the result. After that loop feels natural, add stickers, extra sections, or a second planner for a separate area of life.
Frequently asked questions
Which apps can open a digital planner?
Goodnotes, Notability, Noteshelf, Samsung Notes, Xodo, and OneNote can support digital planners when they allow PDF import and annotation. Check for handwriting, typing, hyperlinks, and backup tools before choosing an app.
How do I import a digital planner?
Save the original PDF, open your planning app, choose its import or add-document command, and select the file from device storage or cloud storage. Test several tabs and write a short note before you start using the planner.
Can I use a digital planner on a phone?
Yes. A phone can handle quick notes, appointments, and short task lists. A tablet usually feels more comfortable for handwriting, detailed weekly layouts, and switching between linked pages.
How often should I use a digital planner?
Use a ten-minute daily check-in to review appointments and choose one priority. Add a weekly review to plan the next seven days, clear old notes, and select up to three outcomes.