Getly
Getly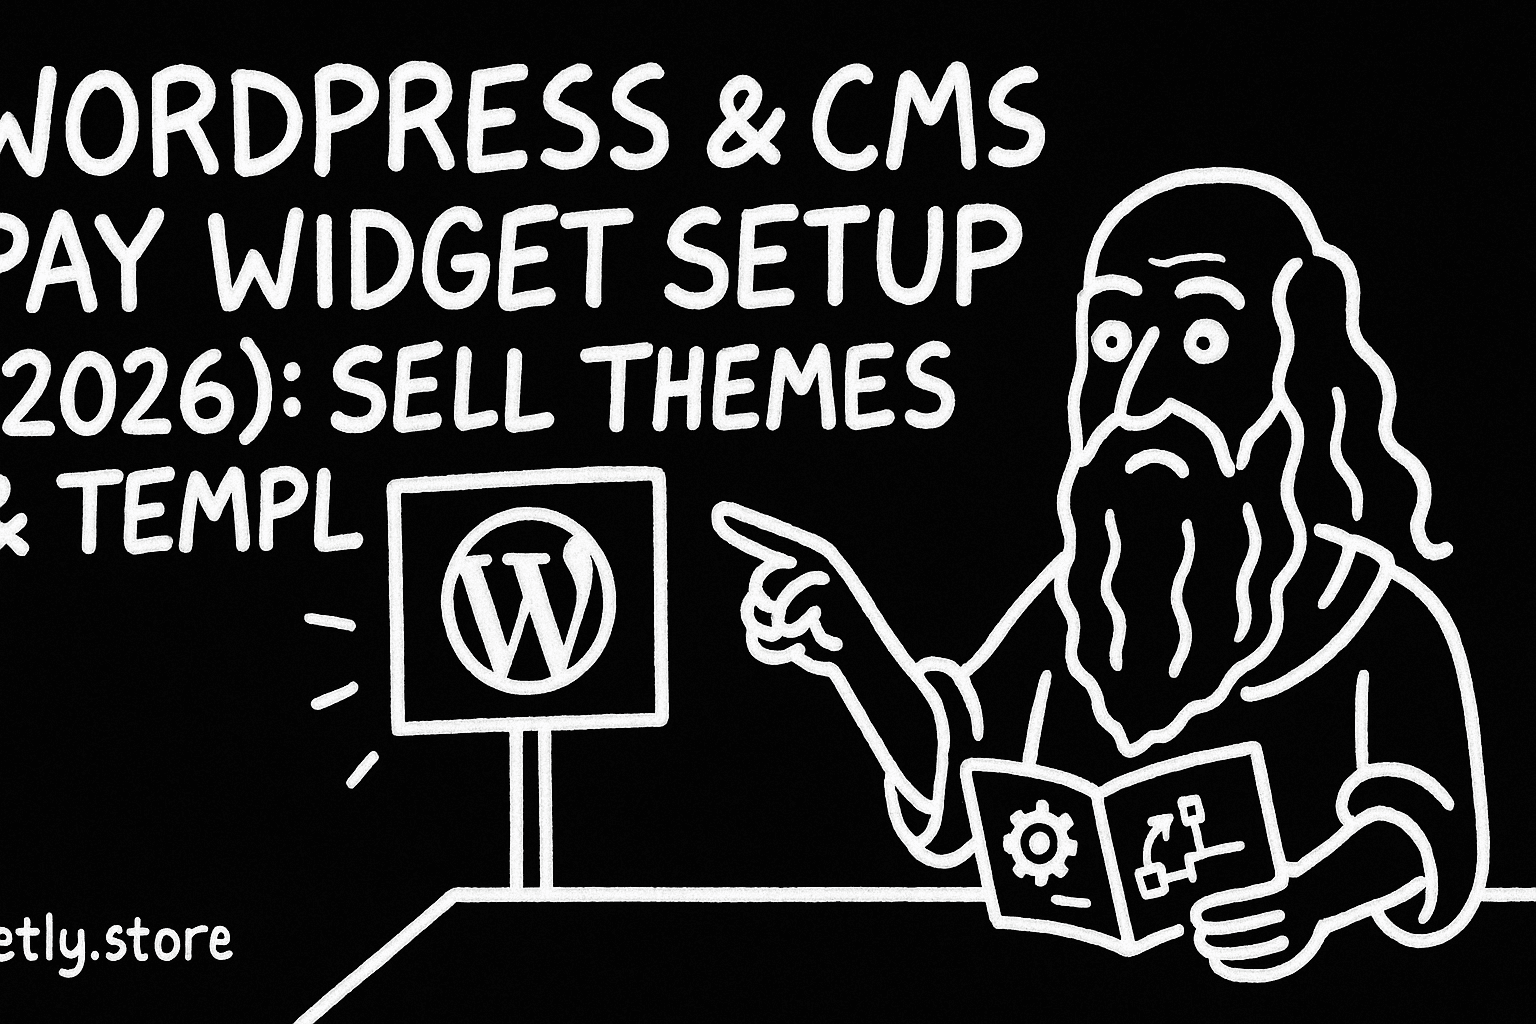
Want to sell WordPress themes and templates without building a full checkout page or managing payment flows? The Getly Pay Widget lets you embed a real “Buy” button on your WordPress site (or any CMS) with one script tag, then sell downloadable files right after payment. In 2026, that speed matters because buyers expect instant checkout and reliable delivery.
Below, you will get a practical setup guide for WordPress and common CMS setups, plus a checklist for pricing, licensing, and template marketing so your widget doesn’t become a dead-end button.
- Embed the Pay Widget in WordPress with a single script tag plus one Buy button snippet.
- Use popup mode for desktop, inline mode for page builders, and redirect mode when popups get blocked.
- Keep your template landing page focused: one template per section, clear licensing, and fast value.
- Card checkout works automatically, and crypto stablecoins (USDT/USDC) stay available for buyers who prefer them.
- Widget traffic counts as your own traffic, so your economics stay simple and predictable.
What is the Pay Widget for selling WordPress themes in 2026?
The Pay Widget gives you a copy-paste “Buy” button that opens a hosted checkout to purchase a Getly product and deliver the digital file after payment. You do not need to build a checkout page, integrate payment processing, or create a custom delivery workflow for each template.
For a WordPress creator or agency, this matters because templates sell faster when the buyer can purchase on the exact page where they evaluate the design. Instead of sending buyers to a separate store page, you place a Buy button directly on your landing page, documentation page, or template preview page.
What you can sell with the widget
You can connect the button to any active product (templates, themes, fonts, design packs, code snippets, and more) and publish a clean purchase path. When the buyer clicks Buy, the widget generates a checkout for that specific product and handles delivery.
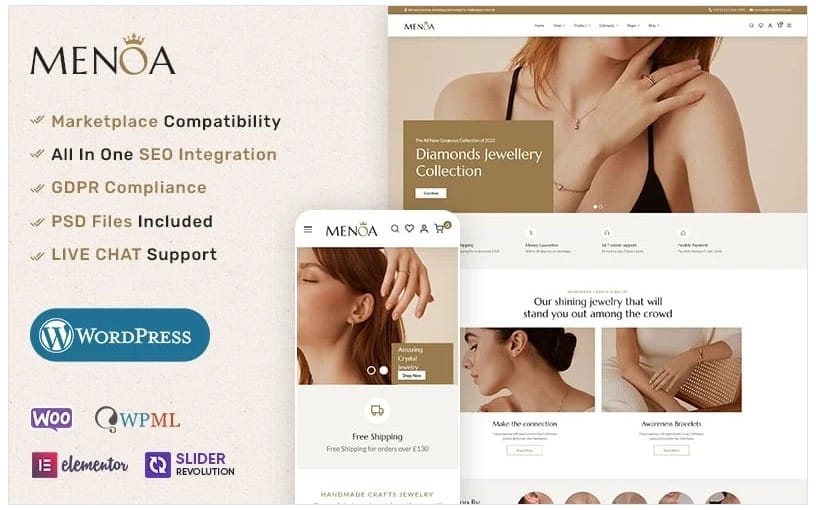
This makes it practical for common WordPress niches like “best WordPress templates” landing pages, Elementor template sales, and theme bundles where each item has its own license tier.
How buyers pay
The widget supports card checkout (via Stripe Checkout). On the hosted checkout UI, Apple Pay and Google Pay appear automatically if the buyer’s browser supports them.
Crypto is also available through stablecoins USDT or USDC (networks supported: Ethereum, Tron, BSC, Polygon, and Solana). If you already target international customers, this reduces payment friction.
How to embed the Pay Widget in WordPress or a CMS
Embed the Pay Widget by adding one script tag to your site and placing a Buy button with data attributes for your store and product slugs. You do not need to create custom forms, connect wallets, or maintain payment webhooks.
This workflow works in most CMS setups that allow adding custom HTML, including classic WordPress themes, page builders that support HTML blocks, and custom landing pages.
Step 1. Get your Store slug and Product slug
To make the widget purchase the correct item, you need a Store slug and a Product slug. Once you have those, you can wire the button to a specific template or theme.
If you sell multiple “best WordPress templates” and Elementor template packs, treat each template as its own product and attach the button to the exact product you want buyers to purchase.
Step 2. Add the script tag once
Place this script tag in your WordPress site where it will load across the page (often the footer or a site-wide custom HTML location):
<script src="https://www.getly.store/pay.js" async></script>In WordPress, you can usually add it via a theme “Custom HTML” option, a footer hook, or a dedicated plugin that manages script injections. Avoid adding the same script tag multiple times on the same page.
Step 3. Add the Buy button on the template page
Add a button where you want the purchase call-to-action to appear. Use the following structure:
<button data-getly-buy data-store="STORE_SLUG" data-product="PRODUCT_SLUG">Buy</button>Example: if your site sells specific downloadable assets like template packs, place the button under the preview image carousel and next to license details (personal/commercial tiers, device limits, or usage rules if you apply them).
Pro tip: Put the Buy button near the first “decision moment.” On WordPress template landing pages, that moment often appears right after you show a screenshot gallery plus a short bullet list of what the template includes.
What widget mode should you use for Elementor templates free?
The widget supports three modes: popup, inline, and redirect. Your choice affects buyer friction and conversion, especially for Elementor templates free-style landing pages where buyers skim quickly.
Pick popup for standard desktop browsing, inline for embedded checkout experiences on the same page, and redirect when popups get blocked or you want a smoother mobile flow.
Popup mode (default for most sites)
Popup mode opens the hosted checkout in a popup window. Desktop users often find this less disruptive because they can close the popup and keep reading.
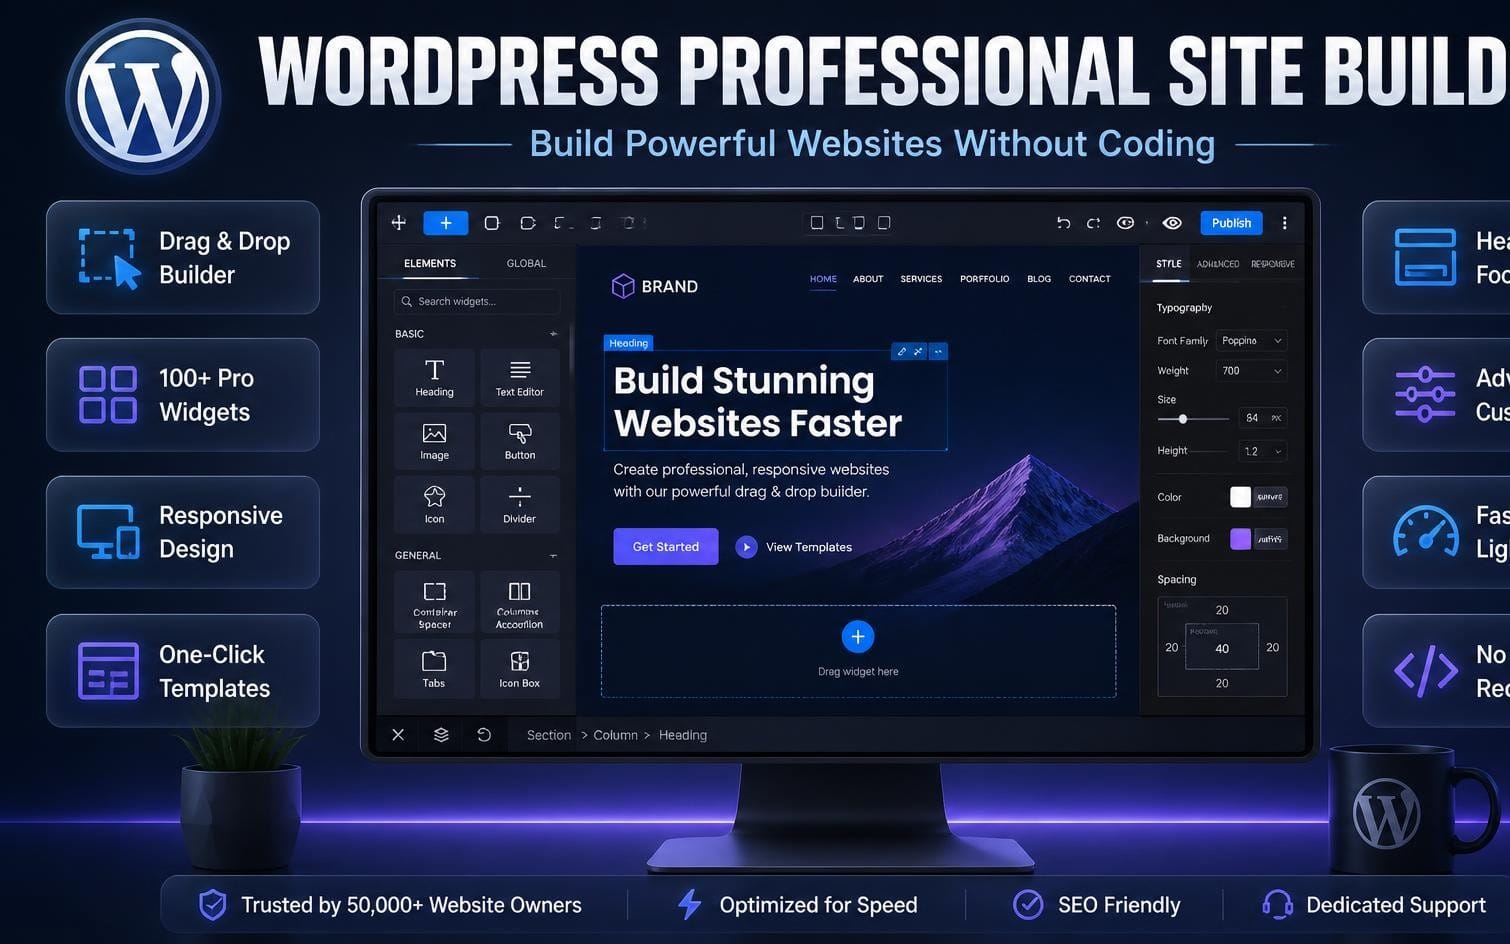
If you use Elementor for layout, popup mode works well when the checkout content fits neatly on a new overlay. It also keeps your page layout clean.
Inline mode (best for tight Elementor layouts)
Inline mode embeds the checkout on your page. This style reduces context switching, which helps when your page contains a long feature list or a FAQ section.
If you run a template hub on WordPress where visitors read multiple sections before buying, inline mode can keep them in the same scroll flow.
Redirect mode (best for mobile and blocked popups)
Redirect mode loads the checkout in the same tab. You usually choose this for mobile-heavy audiences, kiosk browsing, or sites where popup blockers often interfere.
For “free template” marketing pages that convert users to paid premium versions, redirect mode keeps the buyer on a single navigation path.
Common mistake: burying the Buy button under multiple collapsible sections. Buyers who search for “best WordPress templates” expect a clear CTA within the first screen or two.
How to sell best WordPress templates with better page structure
To sell WordPress themes and templates effectively, you need a product page structure that matches how buyers evaluate templates: screenshot clarity, installation steps, licensing terms, and a visible purchase option.
The Pay Widget works best when it sits inside a page that already answers the buyer’s main questions before they click.
Use this layout checklist
Build your landing page with a predictable flow. A simple structure improves conversion because buyers know what to look for:
- Hero section: template name, 1-line benefit, primary screenshot.
- What you get: bullets for pages, components, style assets, and included formats.
- Compatibility: WordPress version range and page builder mention (Elementor, etc.).
- License clarity: personal vs commercial usage rules.
- Install guide: 3 to 5 steps with screenshots.
- Buy section: widget button near pricing and licensing.
- FAQ: refund window, file format questions, re-download policy.
Then place the Buy button again at the end of the page if the FAQ addresses objections (performance, editing complexity, or update support). Keep the CTA consistent with the product you attach in your widget.
Choose one product per page section
If you sell multiple templates, avoid mixing too many Buy buttons on one page without clear separation. Buyers get confused about which “best WordPress templates” item they’re paying for.
Instead, make each template its own section or its own page, then attach the widget to the correct product slug.
How to price and bundle WordPress themes without confusing buyers
Pricing and bundling decide whether buyers trust your checkout. A clean pricing model also reduces refund requests and support messages because customers understand what they purchase.
In WordPress and CMS markets, bundles work best when you bundle assets that share the same workflow (same builder, same theme style, same design system).
Use a licensing-first approach
Customers care about how they can use the template. Set expectations early: personal use for one site, commercial license for client work, or extended permissions when you support broader use cases.
Because the Pay Widget connects to a specific product, your licensing choices should live in the product description on the marketplace page that the widget checkout references.
Bundle templates as “one outcome”
Bundle items around a single goal like “launch a portfolio website” or “sell a shop design with WooCommerce themes free alternatives.” Your bundle should include a coherent set of templates or theme modules that fit together.
For example, you can create a product bundle for a complete theme kit and keep individual components as separate products for buyers who want just Elementor templates free-style add-ons.
| Bundle type | Best for | What to show on the landing page |
|---|---|---|
| Theme kit bundle | Agencies and client work | Homepage + key templates, installation steps, compatibility |
| Landing page pack | Marketers needing speed | Multiple page screenshots, editable sections, quick CTA |
| Elementor blocks pack | Builders who customize fast | Block gallery, before/after screenshots, widget CTA |
| WooCommerce-focused kit | Storefront design | Product page and cart preview, checkout clarity, licensing |
Success pattern: Creators who show “installation in 5 minutes” screenshots usually get fewer refund requests. The widget handles payment and delivery, but your page handles expectations.
How payments and delivery work after a buyer clicks Buy
After the buyer clicks your Pay Widget button, the hosted checkout processes payment and then delivers the digital content. You do not need to run a separate checkout system or manually email files.
This matters for template sales because buyers often purchase the same day they decide. Fast delivery reduces churn and increases the odds they re-download after trying to install.
Delivery and re-download behavior
Once a buyer purchases, the product stays available in their “My Library” so they can download the files again without time limits. This helps buyers reinstall after theme updates or migrate to another WordPress environment.
File downloads follow an anti-abuse cap of up to 25 downloads per file, but there is no “download expires” timer for purchases.
Refund flow basics (so you write honest FAQs)
Default refunds follow a 30-day window from purchase, and sellers can configure their own window per store. Buyers submit a refund request, and Getly admin reviews and approves or denies.
Card refunds process back to the original payment method once approved, typically within 5–10 business days. Crypto orders cannot auto-refund, and the team sends approved refunds manually.
Should you promote “free WordPress themes” with a widget?
You can use a widget on pages that advertise free resources, but you need to treat “free WordPress themes” as a funnel stage and keep the purchase CTA honest. The widget sells a specific product tied to your button, so your page should match what the buyer gets.
A clean strategy looks like this: offer a free download to capture attention, then use the widget to sell premium upgrades, templates, or full theme kits.
Funnel model that converts without backlash
Use these steps to structure your funnel around buyer intent:
- Free entry: a small asset pack or starter template section that proves your style.
- Upgrade pitch: show what the premium version adds (more pages, reusable sections, licensing, or better layout depth).
- Proof: screenshots, feature list, and install steps.
- CTA: a single Buy button tied to the premium product.
- FAQ: clearly explain licensing and refund window.
This approach keeps your audience focused and reduces support load because your CTA always points to a paid product that matches the page.
Where to place the widget on WordPress
Place your Buy button in a location that matches how WordPress visitors browse. Common winners include the top of a “Pricing” section, right below the screenshot carousel, and near the end of the page after the FAQ.
On mobile, you also want a sticky CTA area if your theme supports it. The widget itself uses a hosted checkout, so your page design should focus on clarity, not complicated checkout UI.
Do not place a widget button that targets the wrong product slug. Buyers see the product they clicked and expect the exact item they previewed on your page.
FAQ about Pay Widget setup for WordPress and CMS
How do I set up a Pay Widget button on a WordPress page?
Add the widget script tag once on your site, then insert a Buy button on the specific page where you want checkout. You must provide the correct store slug and product slug so the button purchases the intended digital template.
After embedding, test checkout end-to-end to confirm that delivery happens immediately after payment.
Can I sell Elementor templates and WooCommerce themes with the same setup?
Yes. The widget works for any active digital product, including template packs and theme-related assets. You just wire each Buy button to the correct product connected in your store.
Your WordPress page builder choice does not change the payment workflow.
What payment methods work with the Pay Widget?
Buyers can pay by card through Stripe Checkout. The hosted checkout UI also shows Apple Pay and Google Pay when supported by the buyer’s browser.
Crypto stablecoins USDT or USDC also work via NOWPayments with networks including Ethereum, Tron, BSC, Polygon, and Solana.
Will buyers be able to download purchased templates later?
Yes. Purchases stay available in the buyer’s “My Library” and downloads do not expire. Buyers can re-download to reinstall or migrate their WordPress setup.
Downloads follow an anti-abuse cap per file.
Do I need KYC for crypto payouts when using the widget?
No. Getly does not run identity verification for sellers. If you choose crypto stablecoin payouts, you only set a wallet address and network in your settings.
If you choose fiat payouts via Stripe Connect, Stripe runs its own KYC as part of onboarding.
Wrapping up: launch your WordPress checkout in minutes
The fastest way to start selling WordPress themes and templates in 2026 comes down to one thing: put a real purchase button exactly where buyers decide. The Pay Widget gives you that by handling checkout and digital delivery while you focus on template previews, licensing clarity, and page structure.
If you want a soft next step, start by adding the widget Buy button to one template landing page first, then measure clicks and purchases before rolling it out across your full catalog.
Getly Support
Examples of digital products you can connect to the widget include community content packs like حفلة دبكة جاهزة, media assets like ملف اصوات ممتازة, and template-style resources like WEBSITE SELLING.