Getly
Getly
By the end of this guide, you will turn a prompt that works once into a template you can reuse across products, clients, or content projects. You will know which details to convert into variables, when to add defaults, and how to name each field so another person can use the template without guessing.
You can apply the method to writing, image generation, video concepts, research, coding, and customer support workflows. The example below uses a product-description prompt because it shows the structure clearly.
1. Find the repeatable core
Start with a prompt that already produces a useful result. Copy it into a separate document, then mark every detail that changes from one use to the next.
Suppose you sell digital planners and use this prompt:
One-off prompt: “Write a friendly 120-word product description for a minimalist weekly planner aimed at freelance designers. Mention the undated layout, A4 and US Letter sizes, and the PDF format. End with a clear invitation to download it.”
The prompt contains two kinds of information. The instruction tells the model what work to perform. The product details tell it which specific item to describe. Keep the instruction in the reusable core. Convert the product details into variables.
- Reusable instruction: Write a friendly product description with a word limit, audience, features, format, and call to action.
- Changing details: Product type, style, audience, features, file format, and call to action.
Leave a detail in the fixed instruction when changing it would alter the task itself. Turn a detail into a variable when you expect to replace it during the next use.
Copy the working prompt
Start with a prompt that already gives you a usable result.
Mark changing details
Highlight names, numbers, audiences, formats, tones, and features that vary.
Keep the job fixed
Preserve the instruction that defines the task and its expected output.
Replace details with fields
Give each changing detail a clear placeholder and a short description.
2. Choose useful variables
A variable represents one input that someone can change without rewriting the whole prompt. Use a separate variable when a detail needs its own decision, validation, or replacement.
For the product-description example, you might create these fields:
| Variable | What it controls | Example value |
|---|---|---|
product_type | The item you want to describe | weekly planner |
style | The visual or editorial character | minimalist |
audience | The intended buyer | freelance designers |
features | The details worth mentioning | undated layout, A4 and US Letter sizes |
file_format | The delivery format | |
word_limit | The target length | 120 words |
call_to_action | The closing action | invite the reader to download it |
Keep related information together when the model can treat it as one unit. A list of product features usually works well as one variable. Split the list into separate fields only when each feature needs independent control, such as a template that lets you select exactly three features for every description.
Limit variables to decisions that matter. A field for every adjective creates extra work and gives the person filling out the template too many small choices. Start with the details that change the result most.
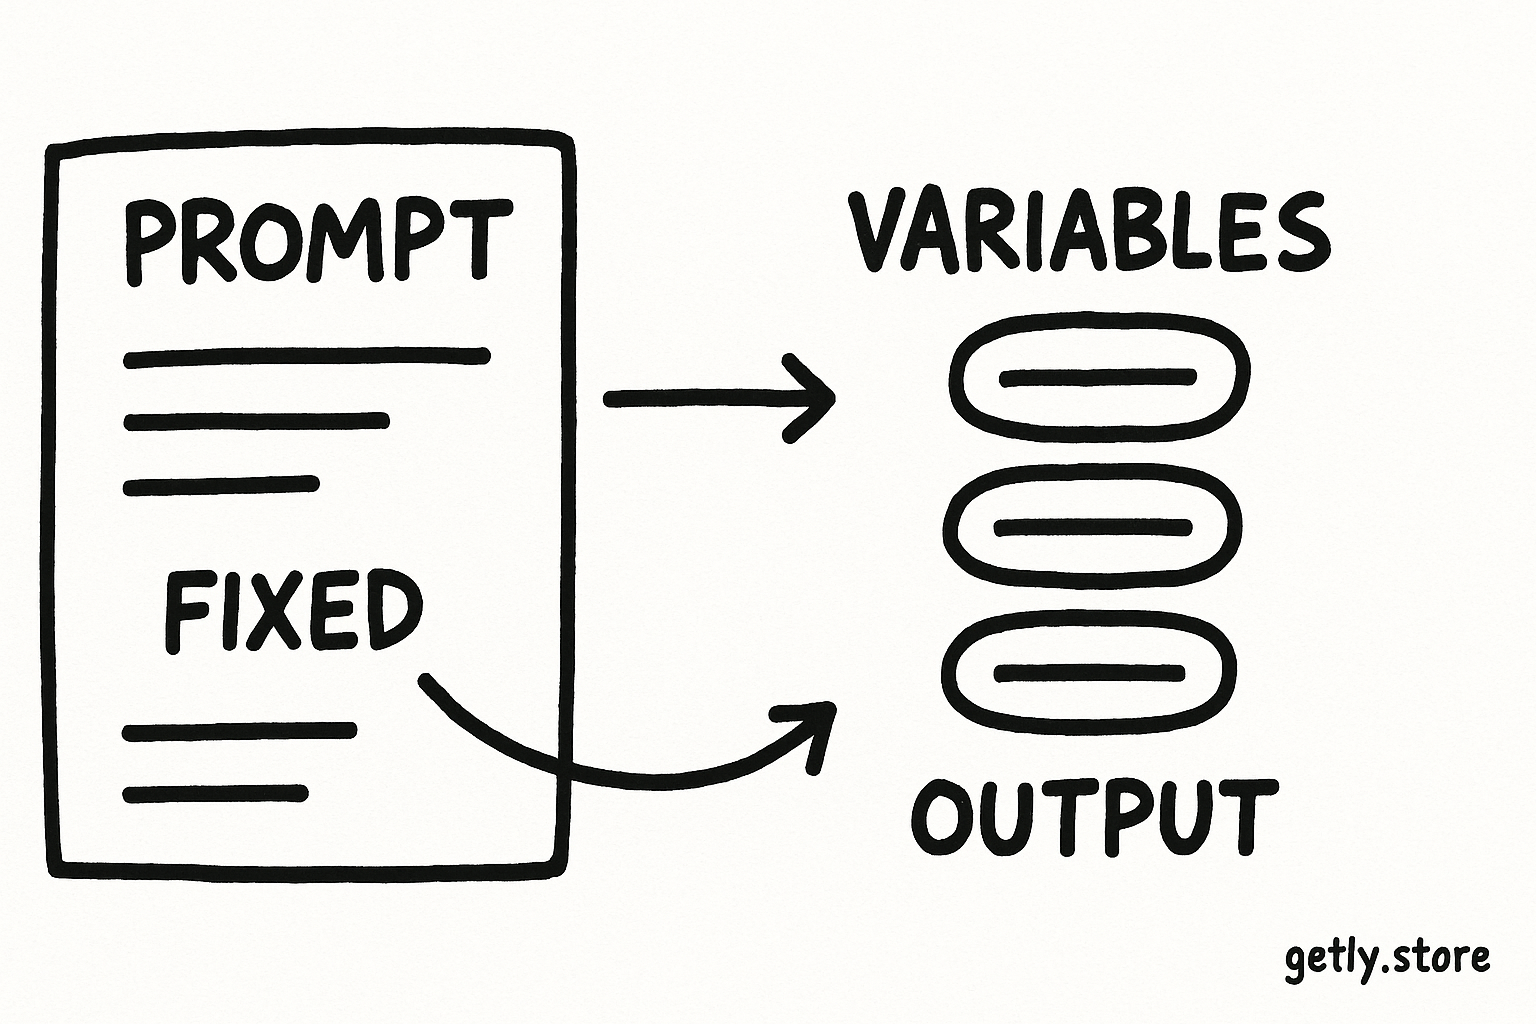
These percentages represent a practical starting split for the example prompt: keep slightly more text fixed around the task than around the changing product details. Your own ratio will vary. A prompt for image generation may contain more variable scene details, while a coding prompt may keep most of its technical rules fixed.
3. Set defaults that help
A default supplies a sensible value when someone leaves a field blank. Defaults reduce repetitive choices, but they should not hide an important decision.
Use a default for a detail that stays common across most uses. In the example, you could set tone to “friendly and practical” and word_limit to “120 words.” You could also set output_format to “one paragraph followed by a short call to action.”
Do not set a default for a detail that changes the product’s meaning. The audience, product type, and key features need deliberate values. A generic default could produce polished copy aimed at the wrong buyer or describe a feature the product does not include.
Three tests for a good default
- Frequency: You expect to use the value in most runs.
- Safety: The value will not create a false claim or wrong instruction.
- Reversibility: The person using the template can replace it without editing the core prompt.
Write defaults beside the variable, not inside a dense paragraph. A field guide makes the template easier to scan:
tone = friendly and practicalword_limit = 120 wordsoutput_format = one paragraph plus a call to action
Separate a default from a requirement. “Use 120 words by default” gives the writer room to adjust the length. “Use exactly 120 words” creates a hard constraint and may force awkward phrasing. Choose the stronger instruction only when the output needs strict consistency.
Do
- Set a default tone when most products share that tone.
- Explain what a blank field will trigger.
Don't
- Use a default audience for products with different buyers.
- Hide a required feature inside a suggested value.
4. Name variables so others can use them
Variable names act as instructions. A clear name tells the person what value to enter and helps you find the field when you revise the template.
Use lowercase words with underscores, or choose another format and apply it everywhere. Names such as target_audience, brand_tone, and primary_benefit give more information than audience1, style, or text.
Match the name to the value
- Use a singular noun for one item:
file_format. - Use a plural noun for a list:
key_features. - Use a field that describes the decision:
target_audience, notpeople. - Include units in the name when they matter:
word_limitorduration_seconds.
Keep one meaning per variable. A field called style might mean visual style, writing tone, or genre. Replace it with visual_style, writing_tone, or content_genre when the template covers more than one kind of style.
Placeholders should stand out from normal prose. Braces work well for text templates:
{product_type}, {target_audience}, and {key_features}
Use the same name in the field list and in the prompt. A mismatch between {audience} in the prompt and target_audience in the instructions forces the user to guess which one controls the output.
5. Assemble and test the template
After you choose variables, rewrite the prompt from top to bottom. Put the role or task first, add the rules next, then insert the variables where the model needs them. Finish with the output format.
Here is a reusable version of the example:
Template: “Write a {word_limit} product description for a {style} {product_type} aimed at {target_audience}. Mention these features: {key_features}. State the file format as {file_format}. Use a {tone} tone. End with this call to action: {call_to_action}. Output one polished paragraph followed by the call to action.”
Add a short field guide under the template:
word_limit: a target length, such as “120 words”style: two or three words that describe the product or presentationkey_features: facts the description must mentiontone: the voice the copy should use, with “friendly and practical” as the default
Test the template with at least three different sets of values. Use one ordinary case, one case with a longer feature list, and one case that changes the audience. Check whether the prompt still produces the right structure, length, tone, and factual details.
Change one variable at a time during testing. If you change the audience, tone, and feature list together, you will not know which field caused a weak result. Record the values that produce good output, then keep them as sample entries for future users.
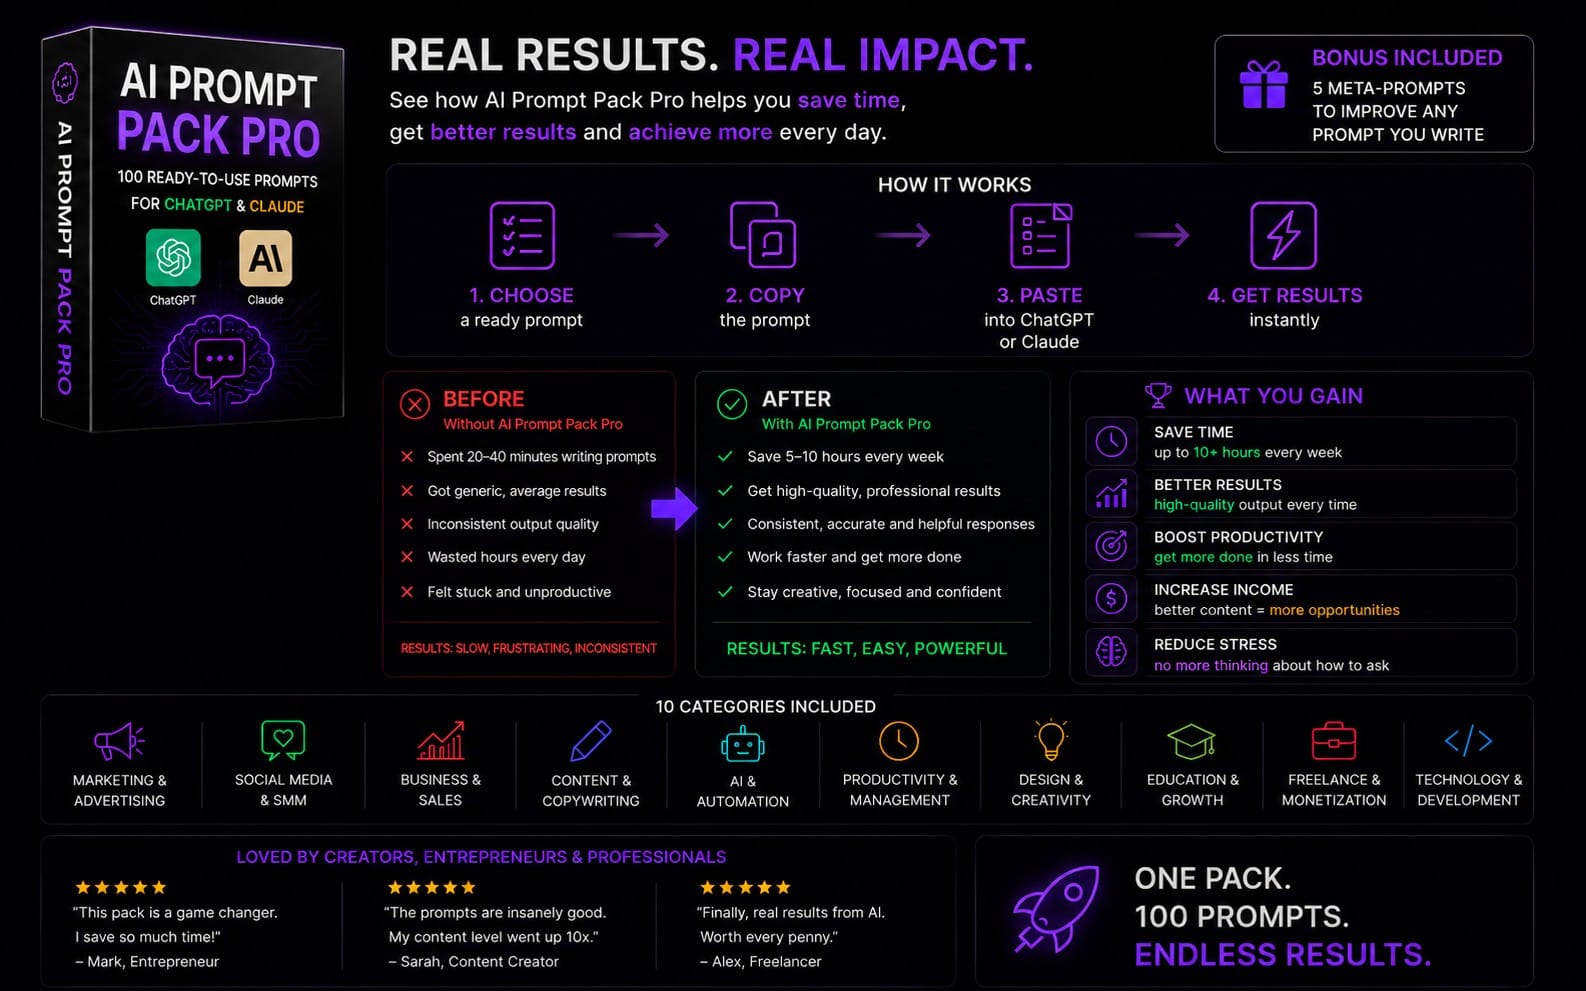
For larger prompt collections, group templates by task and keep a consistent field order. A creator building a prompt library can also study a structured resource such as the AI prompt bundle to compare how different tasks separate instructions from inputs.
6. Fix common template mistakes
Too many variables
A template becomes tiring when the user must fill in fifteen tiny fields for a short output. Combine fields that belong together, such as a product’s dimensions and file formats, when you do not need separate control over them.
Vague names
Names such as info, details, and style create follow-up questions. Replace them with names that describe the exact value, such as product_dimensions, key_features, and writing_tone.
Defaults that make claims
A default can insert an inaccurate promise into every output. Keep factual claims in required fields or ask the user to confirm them. Use a default for tone or formatting, not for an unverified discount, result, certification, or product feature.
Rules that fight each other
“Keep the copy under 80 words” and “explain six features in detail” may produce cramped writing. Review the instructions as a group and remove conflicts before you publish the template.
No test examples
A template can look clear while failing on real inputs. Test short and long values, different audiences, and empty optional fields. Add one completed example so buyers or collaborators can see the expected level of detail.
7. Package the finished template
Give the template a specific title that describes the task and result, such as “Product Description Generator for Digital Downloads.” Put the template first, then the variable list, defaults, field instructions, and completed example.
Mark required fields with a simple label such as “required.” Mark optional fields separately. Tell the reader what happens when an optional field stays blank. For example, “If secondary_benefit stays blank, omit that sentence.”
Keep a short revision note for yourself. Record the date, the problem you fixed, and the test case that exposed it. That record helps you improve the template without changing several instructions at once.
A reusable template earns its place when a new person can fill in the fields, run the prompt, and understand the output without asking you to decode your naming system.
Frequently asked questions
What should become a variable in a prompt template?
Turn a detail into a variable when you expect to replace it between uses, such as the audience, product type, tone, word limit, features, or file format. Keep the task instructions fixed.
When should I add a default value?
Add a default when a value appears in most runs, will not create an inaccurate claim, and can be replaced without editing the core prompt. Tone and output format often work well as defaults.
How should I name prompt variables?
Use clear, consistent names that describe the exact value. Names such as target_audience, key_features, and duration_seconds give better guidance than vague names such as info, style, or text.
How many times should I test a reusable prompt?
Test at least three cases: a typical input, an input with longer or more complex values, and an input that changes the audience or goal. Change one variable at a time when you troubleshoot.