Getly
Getly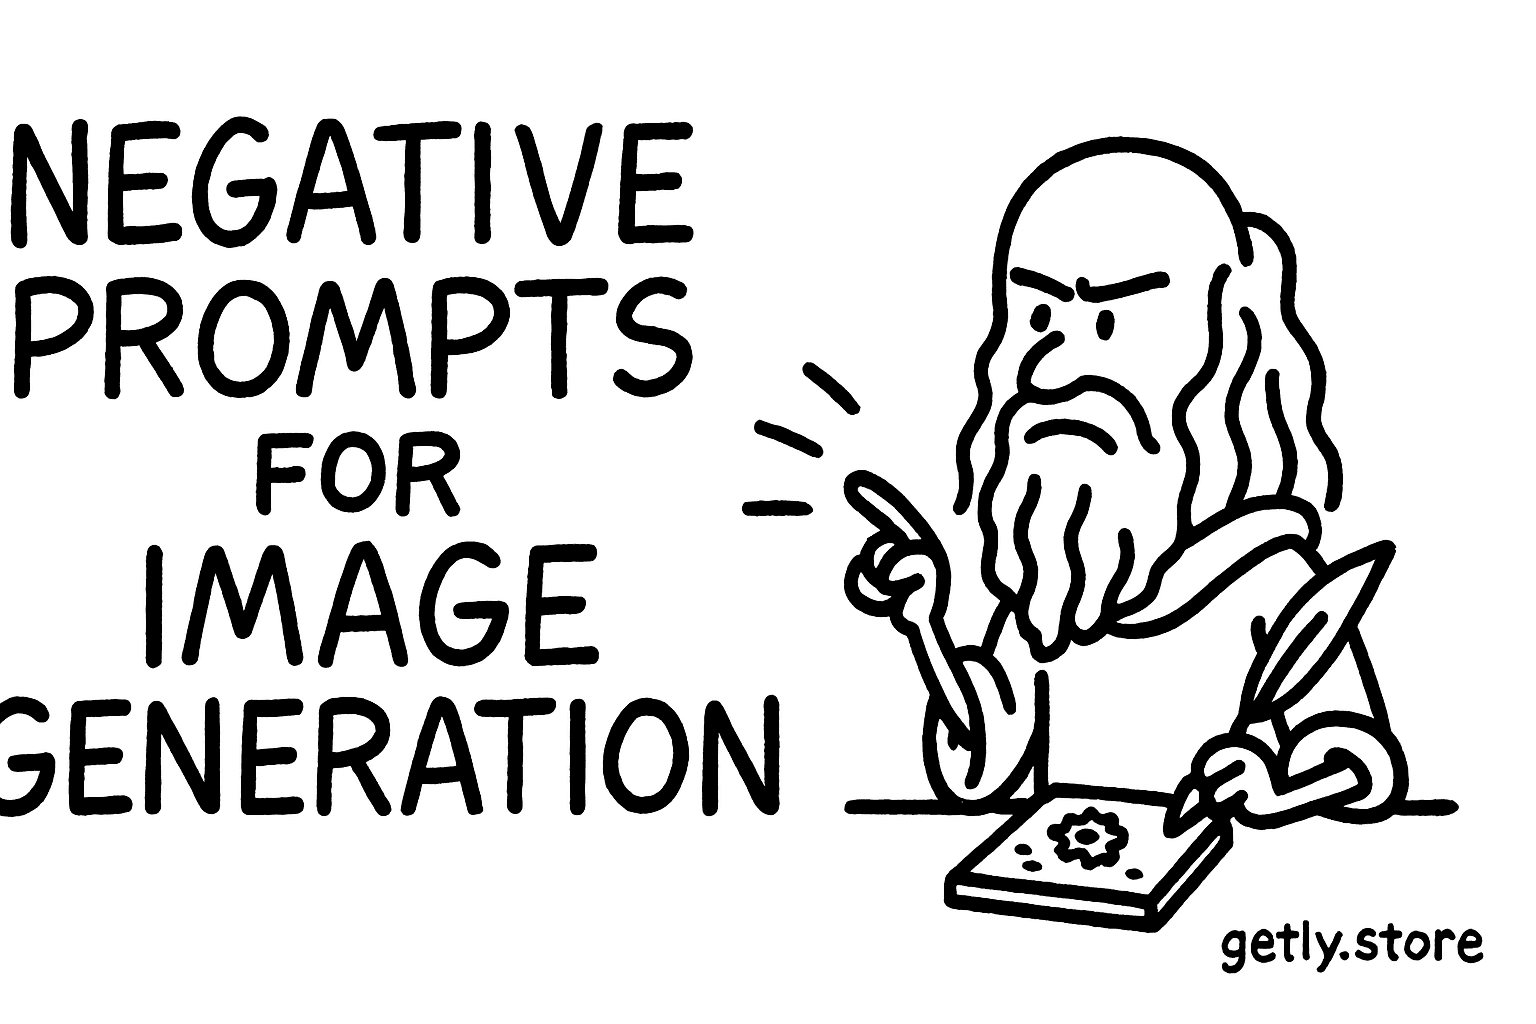
By the end of this guide, you will know how to spot unwanted image traits, turn them into useful exclusions, and keep a negative prompt short enough to guide the generator. You will also have a repeatable method for fixing anatomy, clutter, text, lighting, and style drift.
What a negative prompt does
A negative prompt lists visual traits you want the image generator to avoid. You might exclude extra fingers, warped lettering, duplicate objects, plastic skin, or a modern logo in a historical scene.
The generator still follows the main prompt first. The negative prompt nudges its choices away from recurring problems, but it cannot guarantee a clean result. Each model interprets terms through its own training and syntax, so test the same exclusion against a small set of images before you build a reusable template.
Exclusion often beats addition because extra positive instructions compete for attention. Suppose you ask for a quiet product photograph with a centered ceramic mug, soft window light, a pale background, natural shadows, three props, a handwritten label, a warm color grade, and a vintage editorial mood. The generator has many visual directions to reconcile. Removing an unwanted trait, such as “no text” or “no extra objects,” can solve a specific failure without adding another layer of style.
Find the failure before you write the exclusion
Start with the image you want, then name the defect in plain visual language. “The face feels wrong” gives you little to test. “The left eye sits higher than the right, and the mouth has two outlines” gives you two concrete targets.
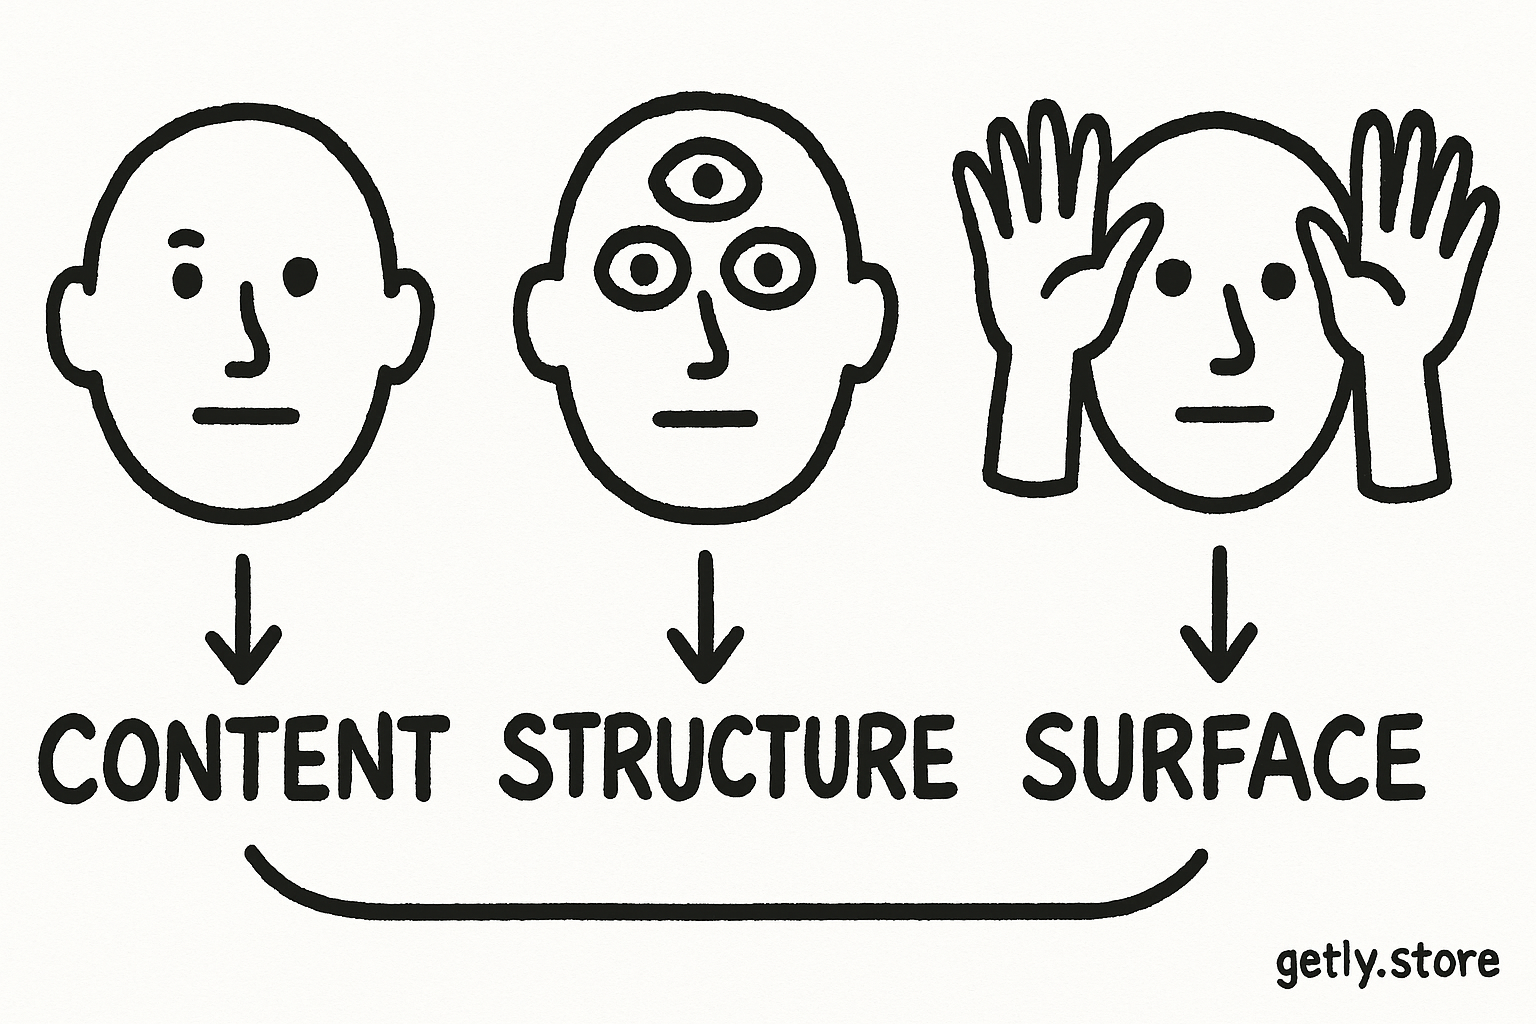
Separate defects into four groups:
- Content: unwanted people, props, logos, signs, limbs, or background objects.
- Structure: asymmetry, duplicated features, tangled hands, floating objects, or broken perspective.
- Surface: waxy skin, muddy detail, harsh noise, oversharpening, or unwanted blur.
- Style: cartoon rendering, glossy 3D effects, neon colors, heavy film grain, or a period style that conflicts with the brief.
Choose the group that causes the largest problem first. A missing hand detail matters less than a duplicate person in a single-subject portrait. A small amount of grain matters less than a fake brand name on a package you plan to sell.
Describe what you can see rather than guessing why the generator produced it. “Extra arm” usually gives you a better test than “bad anatomy.” The specific phrase points toward a visible outcome.
Build a negative prompt that targets one problem
Write exclusions in the same visual vocabulary that you use for the main prompt. Use “extra fingers,” “duplicate subject,” or “visible watermark” instead of a long explanation about what the generator should understand.
Start with one to three terms for the first test. Add a broader synonym only when the first term fails to cover the defect. For example:
- Hands: extra fingers, fused fingers, malformed hands.
- Faces: asymmetrical eyes, duplicate facial features, distorted mouth.
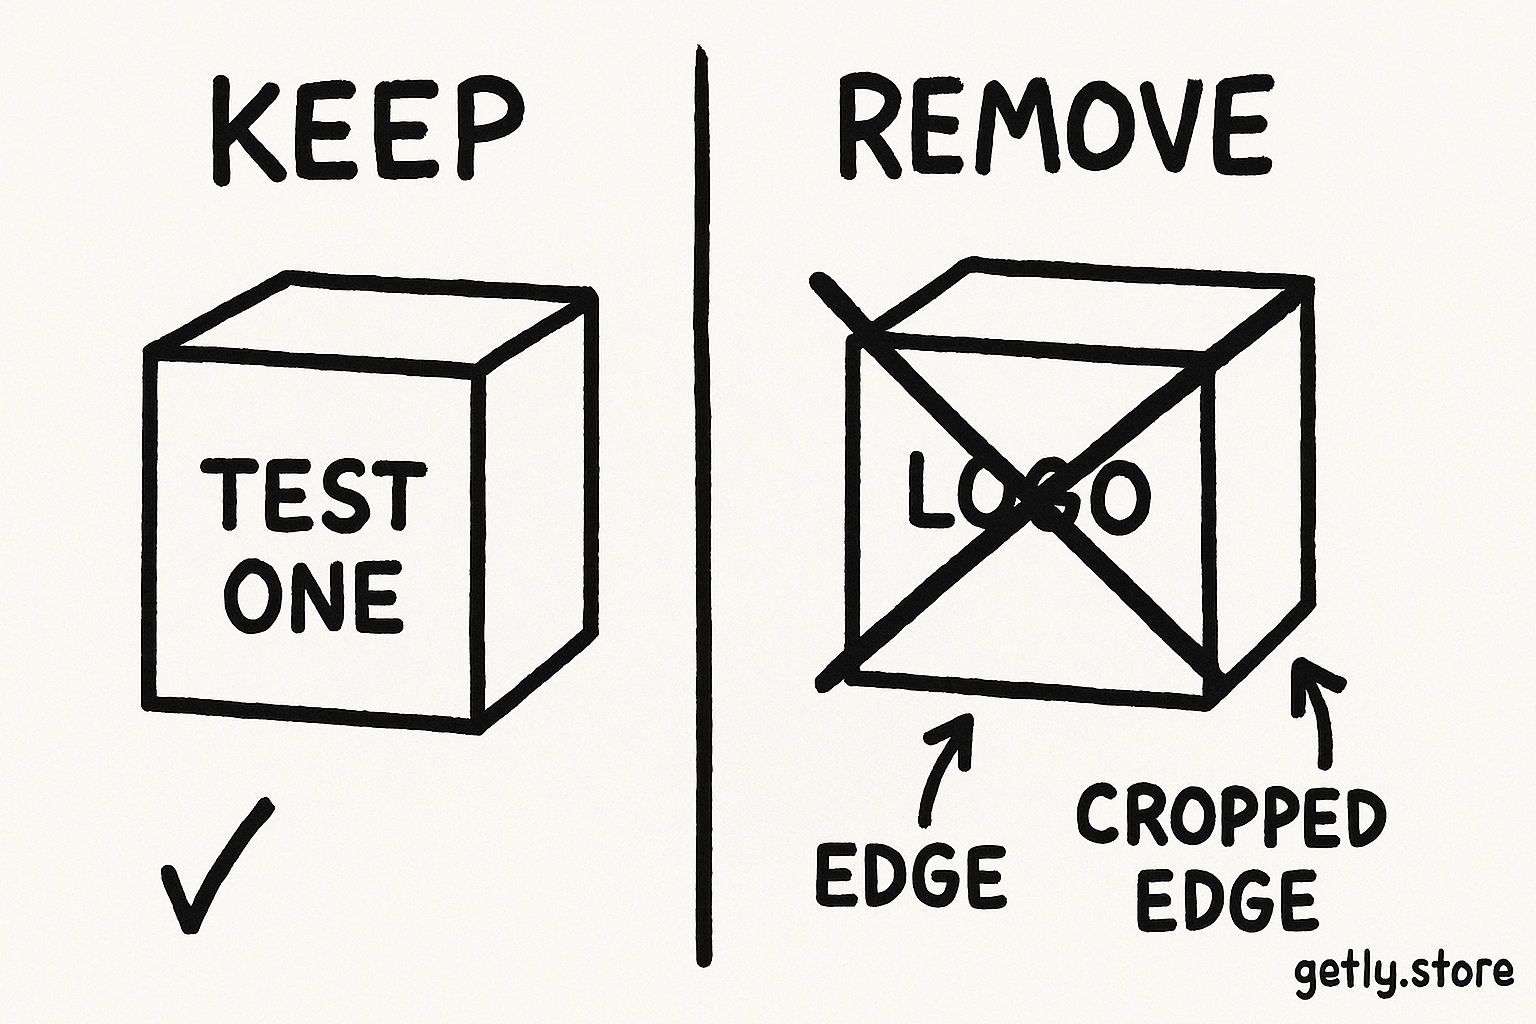
- Products: warped label, fake logo, duplicate product, cropped edges.
- Scenes: extra people, floating objects, tangled background, horizon tilt.
- Finish: plastic skin, oversharpened detail, heavy grain, harsh color cast.
Keep related terms together. A cluster about anatomy belongs beside the portrait prompt, while a cluster about typography belongs beside the packaging prompt. This structure makes later edits easier and helps you identify which exclusion changed the image.
Use short phrases rather than a paragraph. The generator needs a clear target, not an argument. Avoid stacking broad words such as “bad,” “ugly,” or “low quality” with no visible definition. Those words can remove useful variation without addressing the actual defect.
Do
- Write “extra fingers” when the hands show duplicate digits.
- Match each exclusion to a visible defect.
- Keep style exclusions separate from anatomy exclusions.
Don't
- Use “make it perfect” as a negative prompt.
- Paste a long universal list into every project.
- Exclude a style that the brief actually needs.
Keep the positive and negative prompts aligned
Your main prompt establishes the subject, setting, composition, light, materials, and mood. Your negative prompt removes conflicts. Review both parts together before you generate.
Consider a scene with a medieval apothecary. The main prompt might request wooden shelves, glass bottles, parchment labels, candlelight, and period clothing. A negative prompt could exclude modern packaging, plastic containers, electric bulbs, readable brand logos, and contemporary clothing. Those exclusions protect the period setting because they remove objects that would contradict it.
Do not exclude a broad category when you only dislike one version of it. If you want a natural portrait with no sunglasses, write “sunglasses” rather than “eyewear.” If you want a clean poster with no extra lettering, exclude “unwanted text” while keeping the title in the main prompt. Broad exclusions can erase details that support the composition.
Use the negative prompt to protect the brief, not to replace missing direction. If the subject keeps appearing too small, strengthen the main prompt with “waist-up portrait” or “subject fills most of the frame.” “No small subject” describes an absence, but the positive composition gives the generator a clearer visual instruction.
Generate a baseline
Run the main prompt without exclusions so you can identify the generator's recurring defects.
Name the largest defect
Choose one visible problem, such as extra limbs, unwanted text, or duplicate objects.
Add a focused cluster
Enter one to three related exclusions and keep the rest of the prompt unchanged.
Compare the result
Check the target defect, then inspect the image for new losses in detail, mood, or composition.
Save the useful version
Record the prompt, exclusions, aspect ratio, and result so you can reuse the working combination.
Test exclusions without losing the image's character
Change one variable between comparisons. If you add “plastic skin,” “airbrushed face,” “waxy texture,” and “smooth skin” at once, you cannot tell which phrase fixed the portrait or flattened its character.
Run three passes when a defect repeats. The first pass tests the obvious term. The second adds one close synonym. The third removes the term that caused the greatest unwanted change, then tests a narrower phrase.
Judge more than the target defect. Check the subject's identity, silhouette, expression, hands, background separation, color, and texture. A negative prompt can remove a problem while creating another. “No blur,” for example, may produce brittle edges or harsh detail if the generator treats every soft transition as a flaw.
Save a small comparison grid. Label each result with the exact exclusion set, not a vague note such as “better prompt.” A creator who makes product mockups can record “no extra packaging, no fake logo, no cropped box.” A buyer who needs an editorial illustration can record “no photorealism, no 3D render, no neon palette.” These notes turn a one-off fix into a repeatable workflow.
Common mistakes with negative prompts
Using a giant universal list
A long list can suppress details that suit the current image. A fashion portrait, a horror poster, and a clean product icon need different exclusions. Start with the defects that appear in the current composition.
Repeating synonyms without testing
Five phrases that mean the same thing can overcorrect the image. Test “extra fingers” first, then add “fused fingers” only if the generator keeps producing joined digits. Remove redundant terms when the result loses natural hand shapes.
Describing an absence instead of a replacement
“No empty space” does not tell the generator how to compose the frame. Add the desired replacement to the main prompt, such as “subject fills the center with balanced negative space around the shoulders.” Use the negative prompt for a specific unwanted object, not for every compositional weakness.
Excluding the subject's defining traits
Terms such as “asymmetry,” “texture,” or “drama” can remove qualities you wanted. Review each word against the brief. A handmade ceramic cup needs irregular glaze and slight variation. A negative prompt that removes “imperfection” may turn it into a generic machine-made object.
Expecting text exclusions to solve all lettering problems
“No text” can remove unwanted writing, but it may also erase the title or label that the composition requires. Keep required words in the main prompt, limit unwanted lettering with a narrow exclusion, and inspect the final typography before delivery.
FAQ
Should I use a negative prompt for every image?
Use one when you can name a recurring defect or a visual conflict. A simple scene may need no exclusions. A portrait with extra fingers, a product shot with fake logos, or a period scene with modern objects benefits from focused exclusions.
How long should a negative prompt be?
Start with one to three terms for a single defect. Expand to roughly five to eight focused exclusions after you identify several recurring problems. Remove terms that alter the subject, mood, or useful texture.
Can a negative prompt improve composition?
It can remove a specific compositional problem, such as duplicate subjects, cropped edges, or unwanted background objects. The main prompt should still state the intended framing, camera angle, subject scale, and placement.
Why does the same exclusion work in one image and fail in another?
The surrounding prompt, subject, aspect ratio, and scene complexity change the generator's choices. Test exclusions within the same type of image, and keep the main prompt stable while you compare results.
What should I do when an exclusion removes too much?
Delete the broad term and replace it with a narrower phrase that names the exact defect. If “text” removes a required title, try “unwanted background text” and keep the title in the positive prompt.
Frequently asked questions
Should I use a negative prompt for every image?
Use one when you can name a recurring defect or a visual conflict. A simple scene may need no exclusions, while portraits, product shots, and period scenes often benefit from focused terms.
How long should a negative prompt be?
Start with one to three terms for a single defect. Expand to roughly five to eight focused exclusions after you identify several recurring problems, and remove terms that damage useful detail.
Can a negative prompt improve composition?
It can remove specific problems such as duplicate subjects, cropped edges, or unwanted background objects. The main prompt should state the intended framing, subject scale, camera angle, and placement.
Why does the same exclusion work in one image and fail in another?
The surrounding prompt, subject, aspect ratio, and scene complexity change the generator's choices. Keep the main prompt stable and test exclusions within the same image category.