Getly
Getly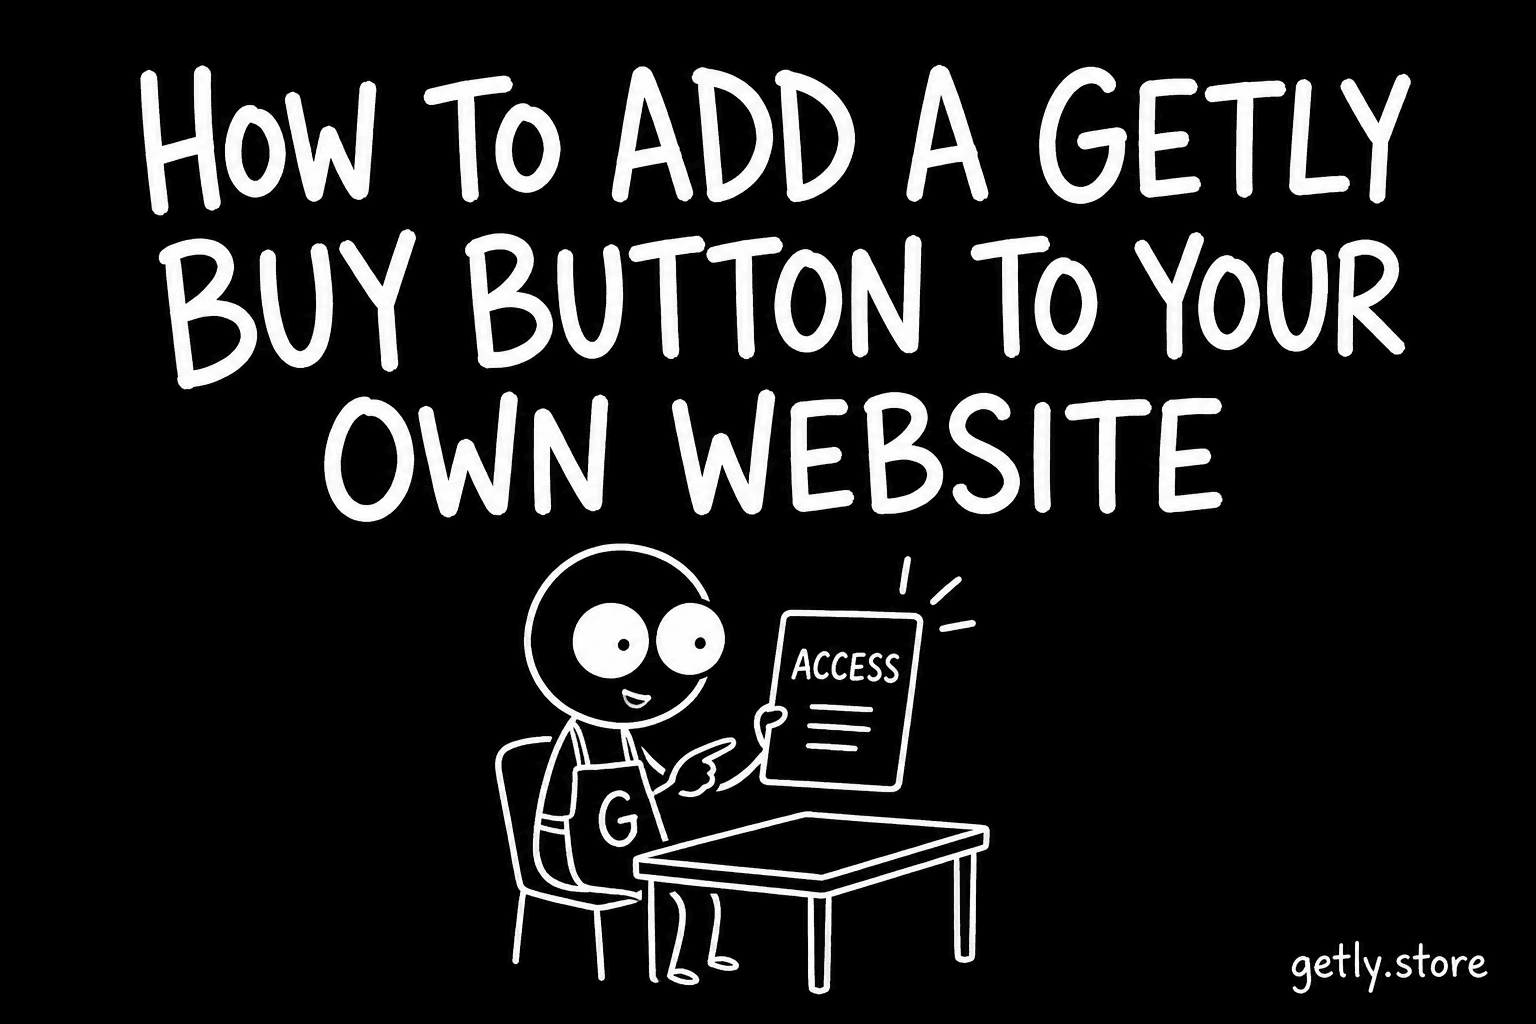
The Pay Widget puts a Buy button for one of your Getly products on any page you control — your own site, a Webflow or Framer page, a Carrd landing, a link-in-bio. The buyer pays by card, Apple Pay, Google Pay or stablecoin; Getly delivers the file, sends the receipt and handles refunds. You never touch Stripe. And because the buyer came from your page, the sale is charged at 10%, not the marketplace rate.
Step 1 — Get access
Open Pay Widget in the seller dashboard. A store that has not been approved sees a short form: where will you use it? Answer with the address of the page and what it sells. Requests are reviewed by a person, usually within a day, and you are notified of the decision. A store is also approved automatically at its first paid, non-test sale on the marketplace, so if you already sell here the button may be open to you already.
Step 2 — Pick the product and the mode
Choose the product from the list of your active fixed-price products. Then choose how the checkout opens:
- Popup — the button opens a Getly checkout in a small window. Apple Pay and Google Pay appear automatically. This is the default and needs no domain setup.
- Inline — the checkout is embedded directly in your page. For Apple Pay in inline mode you must add your domain under Allowed domains so it can be registered with the payment provider.
On phones, or when a popup is blocked, the widget falls back to a same-tab redirect on its own.
Step 3 — Copy the snippet and paste it
The snippet is two lines. The first loads the widget once per page; the second is the button itself, carrying your store and product identifiers:
<script src="https://www.getly.store/pay.js" async></script>
<button data-getly-buy data-store="YOUR_STORE" data-product="YOUR_PRODUCT">Buy</button>
Paste the script tag once and as many buttons as you have products. Style the button however your site styles buttons; the widget attaches behaviour, not appearance.
Step 4 — Check it without paying
Open your page with ?getly-check=1 added to the address. The widget re-runs the exact checks the real checkout runs — product found and active, price, access approved, domain allowed — and prints the verdict on your page. No checkout is created and nothing is charged. If you want to see the whole flow end to end, the dashboard offers a Test purchase: a real checkout in test mode with card number 4242 4242 4242 4242, a real success page and a real delivery email, and no money. The order is marked as a test and never counts anywhere.
Step 5 — Optional: restrict where it works
Under Allowed domains you can list the sites the widget may run on. Leave it empty and the button works anywhere; add domains and it works only there. Adding a domain also registers it for Apple Pay in inline mode. The master switch on the same page stops all widget checkouts instantly if you ever need to.
What it costs
Nothing to set up and no widget fee. A sale through the button is your own traffic, so the platform take is 10% regardless of your volume tier, and the payout follows the normal schedule. The widget can only sell active products from a store in good standing, and a store that abuses it can be widget-disabled; for everyone else it is a checkout on a page you already own.