Getly
Getly
By the end of this guide, you will know how sprites, texture atlases, meshes, materials, and supporting files fit together. You will also have a practical checklist for inspecting a digital asset before you buy it or publish it.
The right format depends on your engine, camera, target platform, and workflow. A beautiful asset can still create extra work if it uses the wrong scale, texture setup, license, or animation structure.
Start with the asset’s job
Game assets fall into two broad groups. 2D assets describe images with pixels. 3D assets describe surfaces with geometry, textures, and material settings. Your camera and gameplay requirements decide which group fits the job.
| Asset type | What it contains | Common use | First check |
|---|---|---|---|
| Sprite | A flat image with optional transparency | Characters, effects, icons, tiles | Pixel dimensions and alpha channel |
| Sprite sheet | Several animation frames in one image | Frame-based character animation | Frame size and frame order |
| Texture atlas | Several textures packed into one image | Fewer texture changes during rendering | UV layout or atlas coordinates |
| Mesh | Vertices, edges, and faces | Characters, props, environments | Polygon count, scale, and normals |
| Material | Rules for displaying a surface | Metal, skin, cloth, glass, effects | Shader requirements and texture slots |
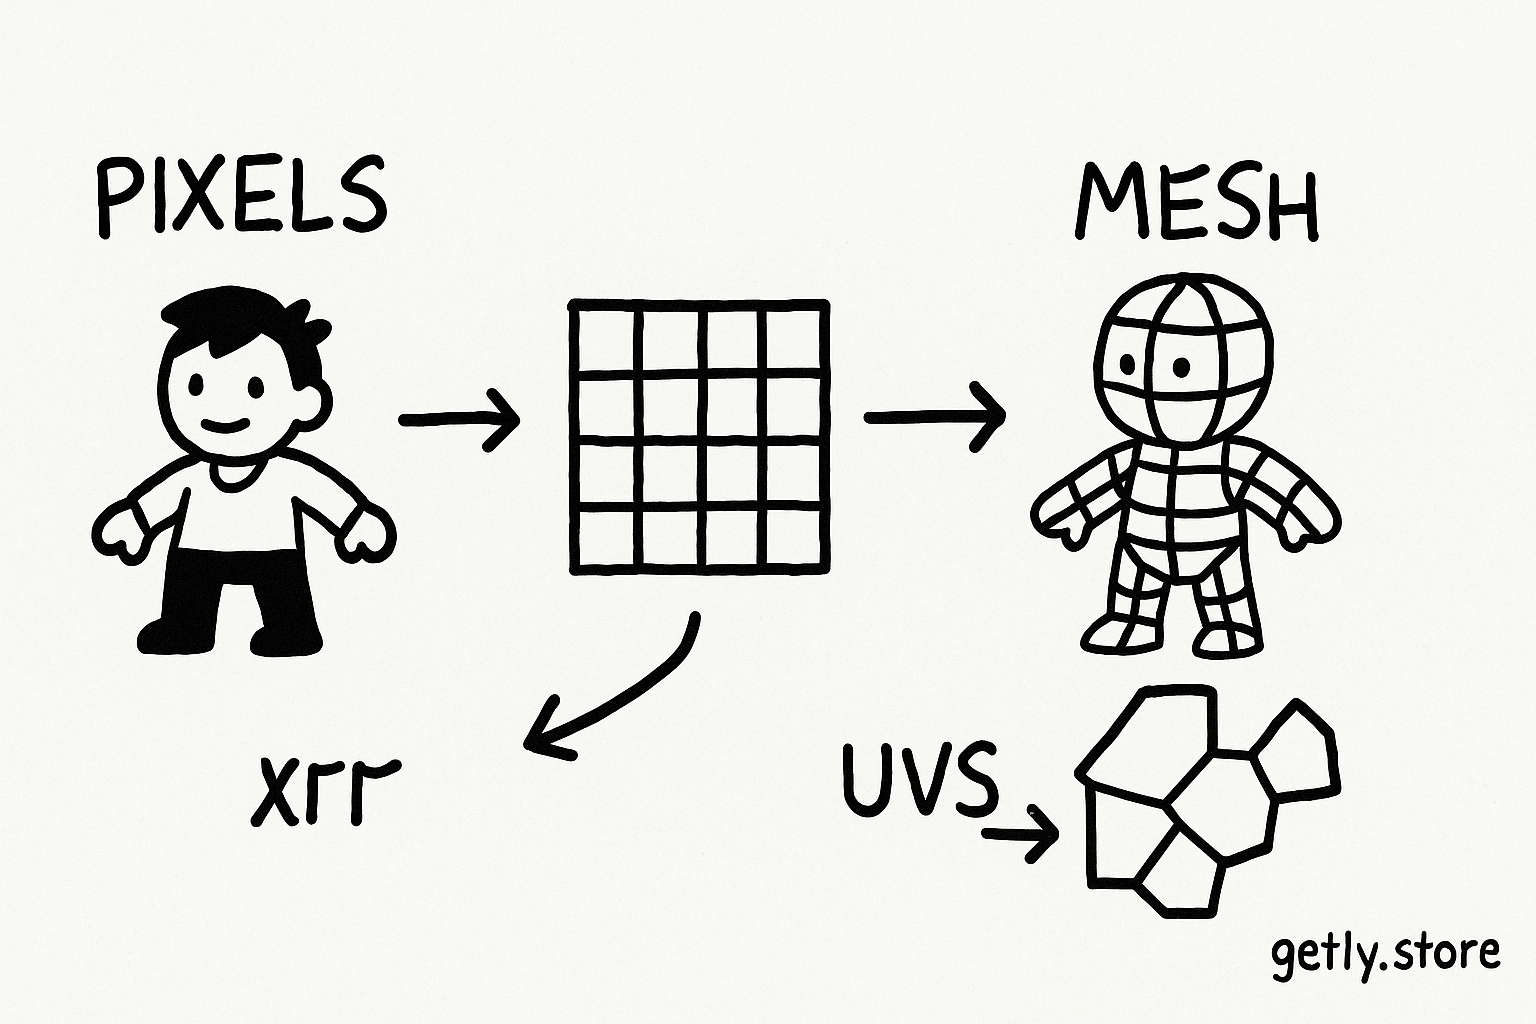
A sprite usually faces the camera, while a mesh occupies 3D space and can receive light from different directions. A sprite sheet stores animation frames side by side. An atlas packs separate images into one larger texture, then uses UV coordinates or source rectangles to find each image.
Those terms overlap in store listings, so inspect the files rather than relying on the product title. A listing that says “sprite atlas” might include animation frames, separate prop images, or both.
Choose sprites, atlases, or meshes
Use sprites for fixed-view images
Choose sprites when the camera sees an object from one intended angle. UI icons, smoke puffs, particle frames, pixel-art characters, and 2D background pieces work well as sprites.
Check the image dimensions before you buy. A 512 by 512 icon set gives you a different result from a 2048 by 2048 illustration set, even if both listings show similar previews. Check the transparent border too. Extra empty pixels can affect pivot placement, collision bounds, and draw order.
Use sprite sheets for frame animation
A sprite sheet keeps animation frames in one image. Your engine needs the frame width, frame height, spacing, margin, and reading order. A sheet with eight 128 by 128 frames needs a different slicing setup from a sheet with irregular frame rectangles.
Ask whether the creator supplies a metadata file or a ready-made animation setup. Metadata may store frame rectangles, pivots, durations, and tags. Without it, you can still slice the image, but you must enter those values yourself.
Use atlases for related images
An atlas combines several images into one texture. The engine can draw many objects while changing textures less often, which can reduce rendering overhead. The benefit depends on your engine, batching rules, material setup, and target hardware.
Look for the atlas image and the information that identifies each region. A JSON, XML, CSV, or engine-specific file may hold rectangle coordinates and pivot values. If the product includes only the packed image, you may need to recreate those regions manually.
Use meshes for objects that need depth
A mesh suits an object that rotates, bends, casts a shaped shadow, or needs several camera angles. A mesh file may use OBJ, FBX, glTF, or another interchange format. The extension alone does not tell you whether the file contains materials, animation, lights, cameras, or only geometry.
Inspect the polygon count and topology. A low-poly prop can suit a mobile scene, while a detailed character may need more geometry around joints and facial features. Check the mesh in wireframe mode because a rendered preview can hide stretched faces, dense areas, and holes.
Name the visual job
Decide whether the asset needs one view, frame animation, packed images, or full 3D movement.
Match the delivery format
Compare the included files with your engine, renderer, and export pipeline before you judge the preview.
Test a small scene
Place one asset in a blank scene and check scale, lighting, transparency, animation, and draw order.
Inspect the files behind the preview
Preview images show the intended appearance, not the complete production setup. Open the file list and find the source format, texture files, material files, animation data, documentation, and sample scene.
Texture checks
Confirm the texture dimensions and color type. PNG often preserves transparency, while JPG does not store an alpha channel. TGA and other formats may preserve production data that your engine imports differently. Check the edges of transparent images for halos caused by a colored background.
Look for separate maps such as base color, normal, metallic, roughness, ambient occlusion, emission, and opacity. A normal map needs the correct channel orientation for your renderer. A roughness map and a gloss map use opposite interpretations, so confirm the author’s instructions before connecting either one.
Mesh checks
Open the mesh and verify the object scale, origin, rotation, and forward direction. A character that faces the wrong axis can force you to rotate every instance in the game. An origin at the character’s feet helps placement and grounding. A prop with its origin far from the object can make rotation feel broken.
Check separate objects and material slots. A character may contain body, hair, eyes, clothing, and accessories as separate meshes. That structure helps you hide or replace parts, but each extra material can increase setup work and draw calls.
Rig and animation checks
Skinned characters need a skeleton and weight data. Test a walk, a crouch, and a sharp bend at the elbows or knees. Watch for collapsing joints, detached accessories, and clothing that clips through the body.
Check animation names, frame rates, root motion, and looping behavior. A “walk” clip may move the character forward through the scene, or it may keep the root in place while your controller handles movement. Your game architecture must match that choice.
A game-ready 3D listing such as this Alien 1 model can be useful as a reference for comparing project files with exported formats. Check which parts of the package your own pipeline can use before you buy.
Match the asset to your engine and art direction
Start with the import path you plan to use. A native project package may save setup time inside one engine, while an interchange file may suit a custom pipeline or another engine. A product that includes both options gives you more flexibility, but you still need to inspect the materials and animation setup.
Compare the asset’s coordinate system and unit scale with your project. Many engines use meters as their practical world unit, but creators may model with different conventions. Place the asset beside a known-size object, such as a door or a 1-meter cube, before you build gameplay around it.
Test the visual style under your real lighting. A physically based material may look correct under neutral lights but clash with a hand-painted scene. A toon shader may need a compatible renderer and specific outline or ramp settings. A shader product such as Anime Stylized Shader Pro can change the look of compatible materials, but it cannot repair missing textures, poor topology, or incorrect UVs.
Check the target platform as well. Large textures consume memory. Dense meshes increase vertex processing. Many transparent sprites can create overdraw, especially when several full-screen effects overlap. Use the smallest texture and geometry budget that preserves the result you need.
Do
- Test one asset in a blank scene with your intended camera and lighting.
- Read the license and confirm commercial, modification, and redistribution rights.
- Keep the original source files separate from optimized game copies.
Don't
- Assume a preview image includes every texture, rig, or material shown.
- Join an atlas to a material without checking its UV coordinates.
- Judge performance from polygon count alone. Texture memory, transparency, materials, and scripts also matter.
Run a pre-purchase checklist
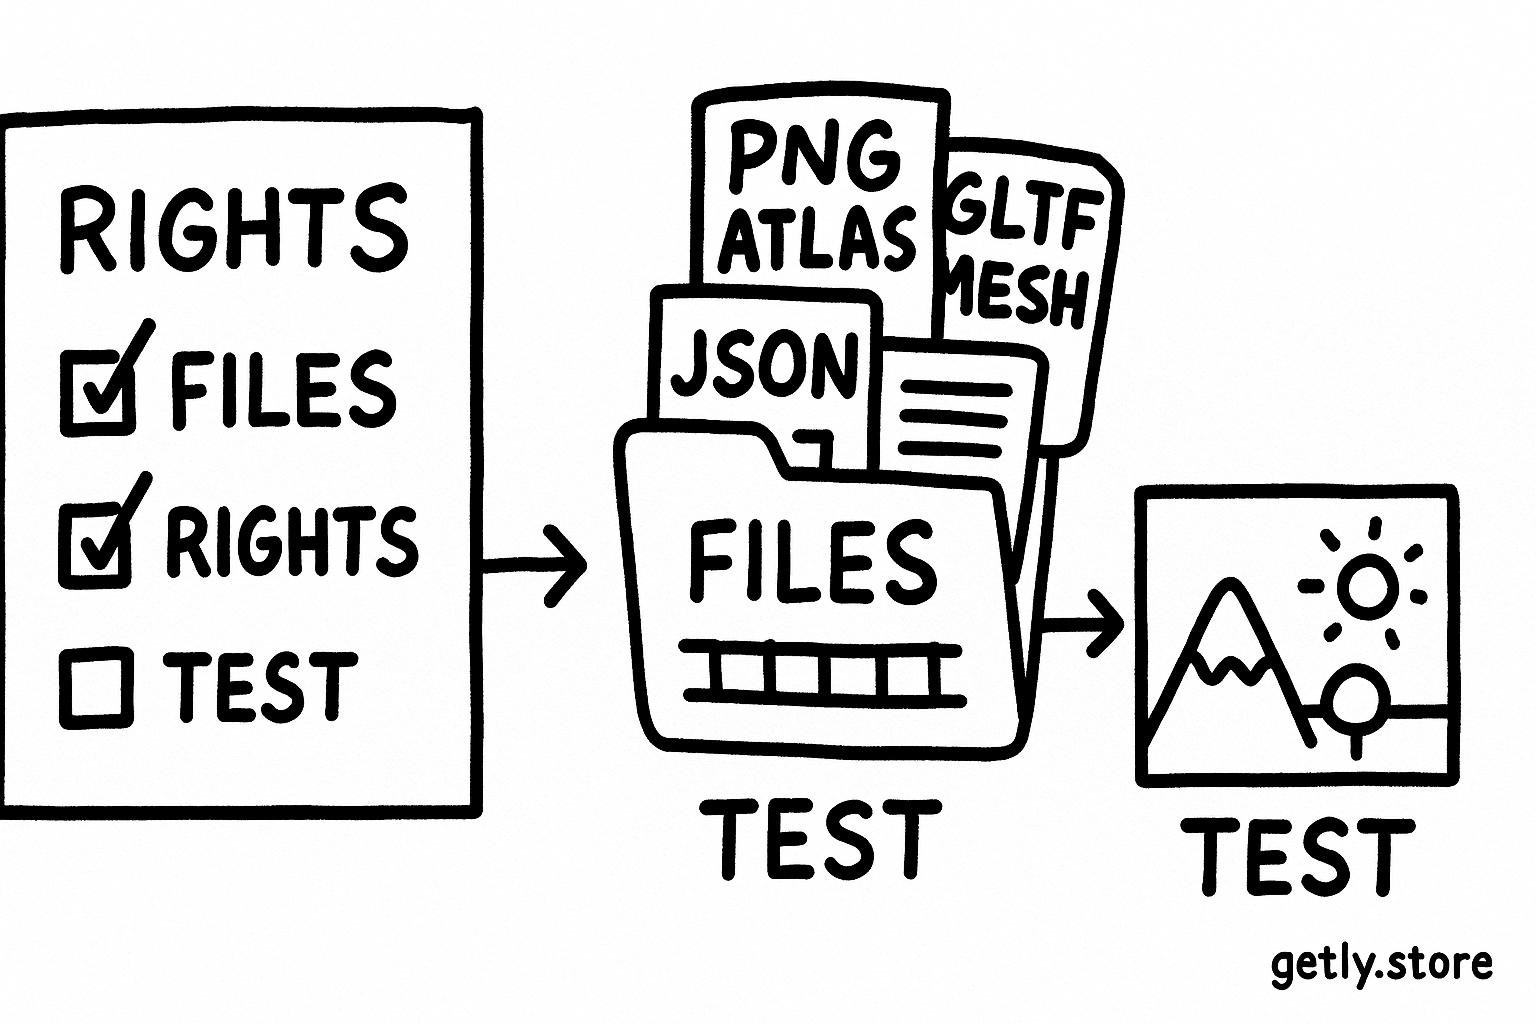
Use the listing description as a starting point, then look for concrete evidence in the preview gallery, file list, documentation, and sample project. Record the answers before you buy so you can compare several assets on the same terms.
- Format: Does the package include the source file, an interchange file, or an engine project?
- Textures: Which maps come with the asset, and which maps does the material expect?
- Transparency: Do the images include alpha, and does the package explain blend or cutout settings?
- UVs: Does each mesh have usable UVs, and do the textures align with them?
- Scale: Does the object match the units and proportions in your project?
- Animation: Does the package include a rig, clips, blend shapes, or only a static mesh?
- Optimization: Can you create lower-detail versions or smaller textures for your target platform?
- Dependencies: Does the asset require a particular shader, plugin, font, script, or external library?
- License: Can you use the asset in your product, edit it, and distribute the finished game?
- Support files: Does the package include atlas metadata, import settings, documentation, or a demo scene?
Creators can reduce buyer uncertainty by naming every included file type, stating texture dimensions, listing polygon counts, showing wireframes, and documenting dependencies. A short import guide often saves more time than another polished render.
Common mistakes
Buyers often choose an asset from the preview alone. That choice can hide a missing alpha channel, an incompatible shader, an unexpected unit scale, or a texture atlas without region data. Buyers also overlook licensing terms when they focus on the visual result.
Creators make a similar mistake when they export a model without checking the final package. A mesh may look correct in the author’s scene but lose its materials, animation clips, normals, or texture paths after export. Open the actual download in a clean project and test it from the buyer’s point of view.
Another common error involves confusing a sprite sheet with an atlas. A sprite sheet usually arranges animation frames in a predictable grid. An atlas may contain unrelated images with different rectangles. Use frame metadata for animation and region metadata for packed images, then verify both in the engine.
FAQ
What is the difference between a sprite sheet and a texture atlas?
A sprite sheet usually stores animation frames, often in a regular grid. A texture atlas packs multiple images or regions for separate objects and may use irregular rectangles with metadata.
Can I use an OBJ file for an animated character?
OBJ usually stores static geometry, vertex positions, normals, UVs, and material references. It does not normally carry a character skeleton or skeletal animation, so an animated character needs a format and workflow that preserve rig data.
Why do my transparent sprites show a dark or light outline?
Transparent pixels may contain RGB color from the source background, and filtering can blend that color into visible pixels. Use correctly prepared edge colors, suitable texture settings, and the blend mode your engine expects.
What should a creator include with a game-ready mesh?
A useful package includes the mesh, working textures, material guidance, usable UVs, stated scale, polygon information, and any rig or animation files shown in the preview. The creator should also include license terms and identify external dependencies.
Frequently asked questions
What is the difference between a sprite sheet and a texture atlas?
A sprite sheet usually stores animation frames, often in a regular grid. A texture atlas packs multiple images or regions for separate objects and may use irregular rectangles with metadata.
Can I use an OBJ file for an animated character?
OBJ usually stores static geometry, vertex positions, normals, UVs, and material references. It does not normally carry a character skeleton or skeletal animation, so an animated character needs a format and workflow that preserve rig data.
Why do transparent sprites show a dark or light outline?
Transparent pixels may contain RGB color from the source background, and filtering can blend that color into visible pixels. Use correctly prepared edge colors, suitable texture settings, and the blend mode your engine expects.
What should a creator include with a game-ready mesh?
A useful package includes the mesh, working textures, material guidance, usable UVs, stated scale, polygon information, and any rig or animation files shown in the preview. The creator should also include license terms and identify external dependencies.