Getly
Getly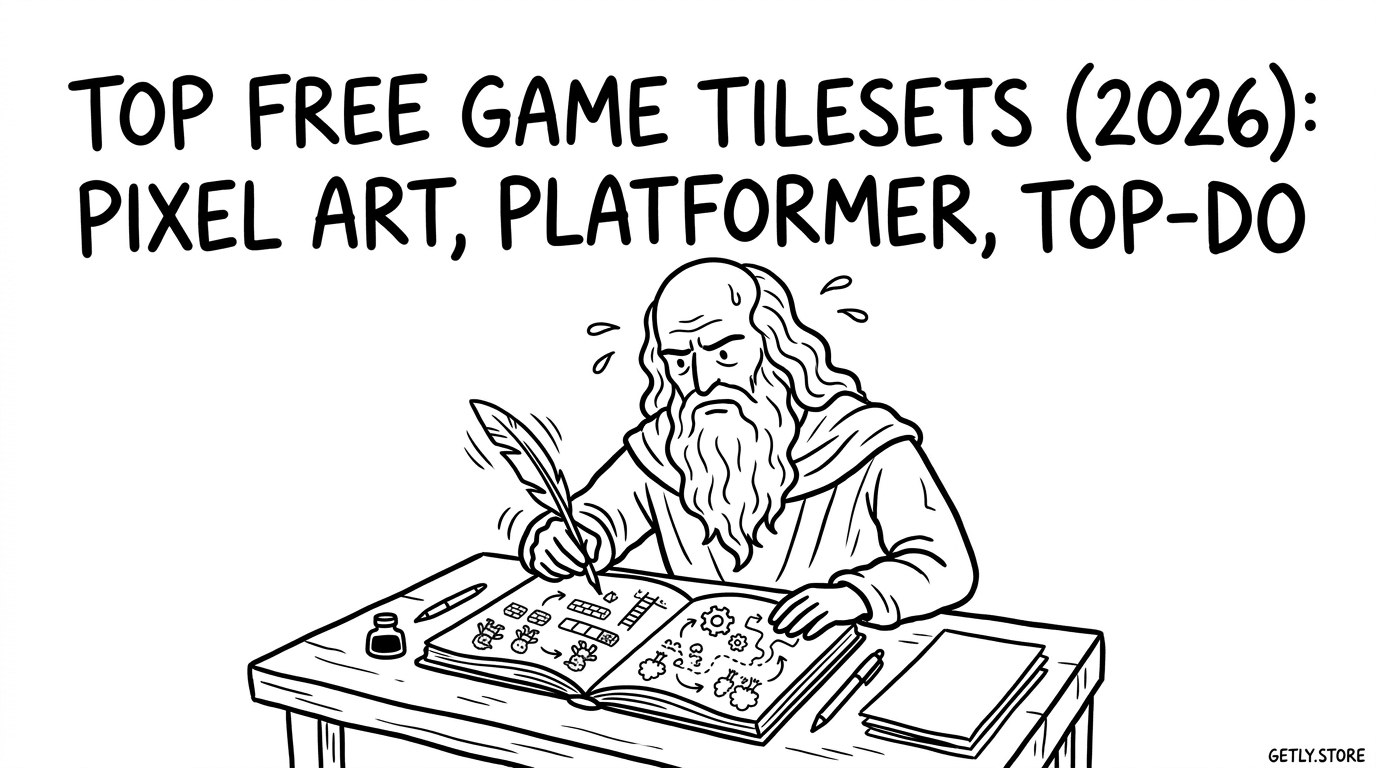
Want to build a world for your 2D game without starting from scratch? The fastest path is grabbing a free game tilesets pack, then styling it to match your theme, camera, and collision rules. In this guide, you’ll learn what to look for in a tileset for platformers, top-down maps, and isometric scenes-plus practical ways to assemble clean 2D game map assets from pixel tiles.
80% of the “looks finished” feeling in 2D worlds comes from consistent tiles: matching edges, readable silhouettes, and coherent palette usage. Let’s make sure your next map hits that standard-even when the tileset is free.
- Choose tilesets that match your game’s camera style: side-view platforming vs top-down readability vs iso depth.
- Use grid-safe tiles (consistent tile size + padding) to reduce seams and collision headaches.
- Pair a platformer tileset with a ruleset for transitions (edges, corners, slopes) before you place hundreds of chunks.
- Don’t just “pick tiles”-pick a workflow: palette locking, autotiling strategy, and export-ready layering.
What is a free game tilesets pack for 2D maps?
A free game tilesets pack is a set of small, reusable textures (tiles) designed to be placed in a tilemap. These packs often include terrain, corners, walls, floors, decorations, and sometimes animated elements. For 2D games, the goal is speed: you can compose a level from building blocks instead of redrawing everything.
The best packs are more than pretty images-they’re designed for consistent tiling. That means predictable tile dimensions, matching edge pixels, and a clear system for how tiles connect (straight edges, corners, junctions, and transitions). When tiles are inconsistent, you get visible seams, confusing collision boundaries, and patchy visual rhythm.
Why “free” still needs quality checks
Free doesn’t automatically mean low quality, but you should verify the pack fits your project. Quick checks-like confirming tile size (e.g., 16×16, 24×24, 32×32), checking if borders are padded, and scanning for palette inconsistencies-save hours later.
Also ask what the artist included. A top-tier pixel art tileset free pack often covers multiple layers (ground, walls, props) or provides a logical folder structure. Even if it’s free, a complete tileset gives you flexibility to build variety without redrawing tiles.
How to choose a pixel art tileset free for your style?
The best pixel art tileset free choice depends on your art direction and camera. Pixel tiles can look “wrong” not because of the art quality, but because the tiles don’t match how your game displays pixel density, lighting, and depth.
Start by matching constraints: if your game uses a side-scrolling camera, you need tiles that read well in horizontal slices. If your game is top-down, edges must remain legible from above. For isometric, you need consistent depth cues so walls and floors align visually.
Checklist: tile specs that prevent common issues
Before downloading any free tiles, use this checklist:
- Tile size consistency: confirm every tile aligns to the same grid.
- Edge continuity: place test tiles next to each other and look for breaks at seams.
- Padding/bleed: check whether tiles include a border to reduce texture bleeding.
- Palette discipline: verify limited, coherent colors for terrain and props.
- Layer clarity: decide if you need separate ground/wall/overlay tiles.
- Animation support (if needed): confirm which tiles are animated, if any.
If you skip these checks, you’ll spend time “fixing” art in your engine or editor, often with awkward compromises like darkening entire layers or manually painting seam patches.
Common mistake: grabbing a tileset because it looks nice in a thumbnail, then discovering it’s built for a different tile size or has edges that don’t tile cleanly. Always do a quick grid test before committing.
Best free platformer tileset features for smooth 2D levels
The best platformer tileset for your game is one that supports movement logic: edges, transitions, and readable obstacles. In platformers, tiles must communicate jump timing and pathing-players rely on silhouettes and spacing.
Platformer worlds also demand consistency around “surface behavior.” For example, you need floor tiles that blend seamlessly, wall tiles that make collision feel predictable, and corners that don’t create visual misalignment when the camera scrolls.
What to look for in a platformer tileset pack
When evaluating free game assets for a platformer, prioritize these features:
- Reliable ground tiles: straight edges + corners that tile without gaps.
- Climbable or obstacle-ready props: ladders, spikes, ledges (if included).
- Transition tiles: stairs, slopes, or step blocks for level variety.
- Background separation: optional parallax-friendly layers (if provided).
- Enemy readability zones: empty space around hazard tiles to highlight danger.
Even a small tileset can work if it includes the right “glue” pieces (corners and transitions). Without those, you’ll end up placing awkward tiles or leaving ugly blank borders in your 2D game map assets.
Build a ruleset before placing tiles
To make a platformer map look cohesive, create a simple placement ruleset. For instance: “Corners always use the corner tile set; slopes only appear as uninterrupted runs; hazards never overlap decorative overlays.” These rules keep your map consistent as you scale it up.
You can apply this ruleset regardless of which free tileset you choose. The key is to standardize how you connect tiles-then you can focus on gameplay layouts instead of art cleanup.
Pro tip: Make a “test strip” map with 1–2 screens that include every terrain type, corner, and transition. If the test strip looks seamless while the camera moves, the rest of the tileset will usually behave well.
How to use free tilesets for top-down 2D maps?
A top-down 2D game map assets workflow is mostly about clarity. The best top-down tiles communicate walkable space and interactable areas without forcing the player to guess what’s solid.
In top-down pixel art, tiny shading differences can make adjacent tiles feel mismatched. So focus on consistent lighting direction (or intentional stylization) and make sure edges of walkable surfaces align visually.
Top-down tileset essentials
For top-down games, look for tilesets with:
- Clear ground boundaries: paths, grass, stone, and dirt that remain readable.
- Wall/fence readability: walls should cast a consistent “block” silhouette.
- Corner and junction pieces: so rooms don’t look like random Lego chunks.
- Props with layering: trees, rocks, crates, and decorations that don’t clutter collisions.
If the free pack includes only flat terrain tiles, you can still succeed-but you’ll need a careful overlay approach. Keep decorations in a separate layer so you can hide/adjust them when they interfere with movement clarity.
Collision-first mapping beats art-first mapping
When making top-down maps, define collision and interaction zones early. Many tilesets include “visual only” sprites that look like walls but shouldn’t block movement (or vice versa). Your goal is alignment: what the player sees should match what the player can do.
Plan your tile categorization: floor tiles, blocking tiles, semi-blocking tiles (if applicable), and decorative overlays. Then build rooms using a consistent pattern so every encounter feels coherent.
What makes an isometric tileset work in 2026?
Isometric tilesets require extra discipline because depth cues determine whether the world feels believable. The best iso tilesets keep the same perspective rules across floors, walls, and objects so you don’t get “floating” artifacts.
Even when you’re using a pixel art tileset free pack, iso success usually comes down to consistent face rendering: floors should share the same shading direction, walls should rise in the same steps, and corners must align to the same grid logic.
Iso-specific checks before you build your map
Use these checks to avoid painful rework:
- Perspective consistency: verify that tiles maintain the same diagonal flow.
- Edge alignment: place two wall corners and confirm the seam reads as one surface.
- Shadow rules: confirm consistent shadow placement (or none at all).
- Object scaling: props should match the tile’s implied depth so they don’t “shrink” visually.
If a pack’s iso tiles don’t line up, your map might still be playable-but it won’t feel polished. In iso, tiny misalignments are magnified because the camera angle exposes layering mistakes.
Layering approach: ground, elevation, then props
A reliable iso layering strategy makes maps easier to maintain. A common approach is: (1) ground tiles, (2) elevation elements (stairs, cliffs, raised platforms), (3) walls/blocks, (4) prop overlays.
This layering keeps interactive elements like doors and furniture predictable. It also helps you reuse the same tilesets across levels without accidentally changing the world’s depth logic.
Success pattern: Many teams get the “instantly professional” look by standardizing a layering order and then only allowing props that respect it. That turns a free iso tileset into a system-not a pile of sprites.
Where to find free game assets and how to integrate them
Finding free game assets is easier than ever, but integration is where most creators lose time. The best workflow treats tilesets as a production pipeline: import, verify alignment, set up layers, then standardize placement rules.
Even without naming any specific source here, you can apply the same integration principles across platformer, top-down, and iso projects. The objective is to reduce manual corrections and keep your map editing fast.
Integration workflow that works for any tileset
Use this sequence:
- Import with the correct pixel settings: avoid scaling that breaks pixel edges.
- Verify grid alignment: ensure tiles snap to the map editor grid.
- Create layers: ground, walls/solid, and decoration overlays.
- Test seams early: build a small map slice that forces every edge type to appear.
- Document your rules: corner selection, transitions, and hazard placement guidelines.
- Build templates: reuse room patterns and reduce repeated manual placements.
If you do this, you can swap tilesets later (for example, to match a new biome) without rewriting your entire level-building method.
When shaders matter for tilesets
Tilesets define the look, but shading and effects can unify the world. If your game uses outlines, lighting, water, or stylized toon shading, it’s worth selecting assets and shaders that match the art style.
For creators who already work with toon/animated looks, tools like AnimeForge Pro - Ultimate Anime & Toon Shader System can help you keep shading consistent across environments. (That said, your tileset still needs to tile correctly-shaders can’t fix broken seams.)
Similarly, if your project involves converting material systems between engines, an Unreal to Unity Material Converter can help streamline asset pipeline work-especially when you’re mixing 2D art with 3D materials or doing hybrid scenes.
| Genre | Primary Tileset Goal | Top Priority Feature | Best Workflow Focus |
|---|---|---|---|
| Platformer | Readable movement surfaces | Seamless ground + transitions | Define placement rules before scaling |
| Top-Down | Clear walkability & obstacles | Ground boundaries + wall silhouettes | Collision-first mapping |
| Isometric | Believable depth & layering | Perspective consistency | Ground → elevation → walls → props |
How to make a free tileset look unique (without redrawing everything)?
Even the best free game tilesets can start to feel generic if you use them as-is. The trick is to keep the underlying tiling system, then customize using palettes, overlays, and composition-so your maps feel like your world.
Uniqueness doesn’t always require new tiles. It usually requires a consistent “theme layer” across your level: a limited palette shift, unique decoration rules, and a coherent set of props that repeat in meaningful places.
3 ways to add uniqueness fast
Use these strategies to change the feel while preserving speed:
- Palette remap: swap colors to match your biome and lighting mood.
- Overlay style: add grime, highlights, or story props in a separate layer.
- Composition patterns: reuse motifs (arches, alcoves, repeated object clusters) so areas feel designed.
If you’re also building your broader creator workflow, you can apply the same “system mindset” to research and planning. A resource like The SIGNAL ARCHITECT The AI-Powered Workflow to Turn 100 Sources into 1 Master Insight is designed to help turn lots of references into one coherent direction-useful when you’re trying to keep biome palettes and decoration rules consistent across multiple levels.
And if you need to manage your production rhythm, building a repeatable list of assets and effects (audio, visuals, shaders) can reduce random decision-making. The more consistent your pipeline, the more your maps look intentional.
- Pick tilesets that match your camera and readability needs-platformer, top-down, or iso.
- Do a grid seam test before you place tiles at scale; it prevents hours of cleanup.
- Use rules + layers to keep maps consistent and make free tilesets feel “yours.”
- Shading tools can unify the look, but they can’t replace correct tiling and alignment.
FAQ: Free game tilesets for platformer, top-down & iso
Where can I get free game tilesets for 2D games?
You can find free tilesets by searching specifically for your needs (e.g., “platformer tileset,” “pixel art tileset free,” or “iso pixel tiles”). Regardless of source, always verify tile size consistency and edge tiling before committing to large maps.
What’s the best pixel art tileset free tile size for new projects?
The best choice is the tile size your engine/editor workflow is already built around. The most important factor is grid alignment-tiles that snap cleanly and don’t cause seams are more valuable than picking a “popular” size.
How do I make platformer tiles look seamless?
Create a test strip map that includes straight terrain, corners, and transitions, then scroll it to check for seams. Use a simple placement ruleset so corner and transition tiles aren’t mixed randomly between regions.
How do I prevent top-down tilesets from looking cluttered?
Use separate layers: ground + solid geometry + decorations. Keep decorative overlays away from collision-critical areas so walkability stays clear, and limit props to repeatable motifs rather than one-off clutter.
Can shaders fix bad tileset seams?
No-seams usually come from tile edge mismatch and grid alignment problems. Shaders can unify color and lighting, but if the tiles don’t tile cleanly, you’ll still see breaks where edges don’t match.
If you want to expand your library beyond free, consider pairing tilesets with production tools and shaders that match your target look. For a soft next step, browse more tiles and game asset collections via Getly’s general catalog at /browse-and focus on packs that include the edges and transitions your genre needs.