Getly
Getly
By the end of this guide, you will know how to install Lightroom presets on desktop or mobile, apply them to the right kind of photo, and adjust the result without losing your subject’s natural color. You will also have a repeatable workflow for saving your own variations.
1. Check the preset files before installing
Start by opening the download folder and identifying the file type. Most current Lightroom preset packs use .xmp files. Some mobile packs use DNG files, which look like photos but carry the creator’s edit settings inside the image.
- XMP files: Use these with Lightroom on a computer. You can also import them into mobile apps that offer direct preset-file import.
- DNG files: Use these as reference images in a mobile workflow. You copy their settings to your own photo.
- ZIP files: Extract the folder before you look for XMP or DNG files. Lightroom cannot use a download folder as a preset by itself.
Read the creator’s included instructions before you move files. A pack may contain separate folders for indoor light, outdoor light, black-and-white edits, or camera profiles. Keep those folders intact until you understand the naming system. Clear names help you choose a starting point later.
2. Install presets on a computer
Use the preset import command inside Lightroom rather than dragging files into random application folders. The import command lets Lightroom register the files and display them in the preset browser.
- Extract the downloaded ZIP file if the pack came compressed.
- Open the Develop or editing workspace.
- Open the preset browser and choose the option to import presets.
- Select the XMP files or the folder that contains them.
- Confirm the import, then expand the new preset group in the browser.
Keep the original download in a backup folder. If you move or rename the source files later, Lightroom should still retain the imported presets, but the backup gives you a clean copy if you reinstall the app or move to another computer.
Check one preset on a test image before you edit a full shoot. The preview tells you whether Lightroom imported the group correctly and whether the preset uses a camera profile your system can read.
3. Install presets on mobile
Mobile installation follows one of two paths. Direct XMP import works in mobile apps that expose a preset import command. The DNG method works when the creator supplies edited DNG images instead.
Use direct XMP import
- Save the XMP files to your device or cloud storage.
- Open Lightroom and enter the editing view.
- Open the preset panel and choose the import option.
- Browse to the XMP files and select them.
- Look for the new group in the preset list.
Use the DNG method
- Save the DNG file to your device.
- Import the DNG into Lightroom as a photo.
- Open the DNG and choose the copy settings command.
- Choose the settings you want to copy. Include the profile, light, color, effects, and detail settings when the creator’s instructions call for them.
- Open your own photo, choose paste settings, and inspect the result.
The DNG method gives you a useful fallback when a mobile app does not accept XMP files directly. Delete the reference DNG only after you confirm that the settings copied correctly and that you can access the preset again if needed.
Match the light
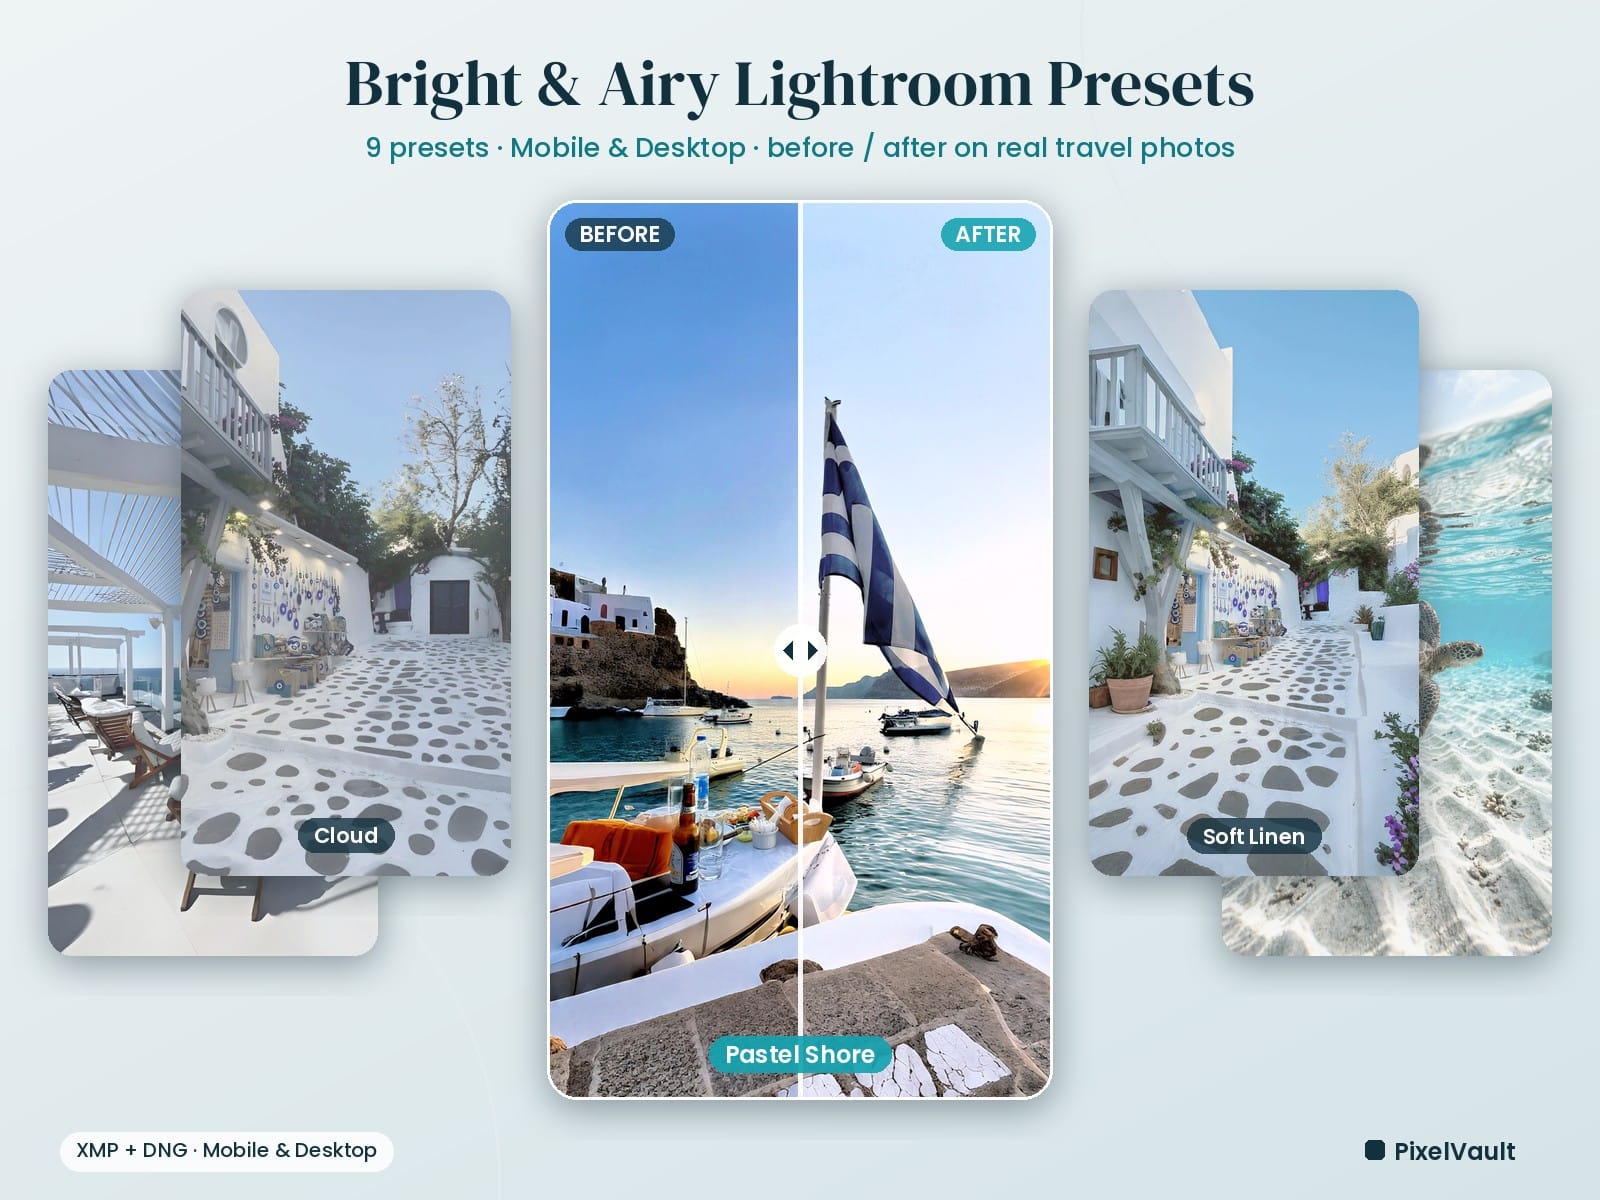
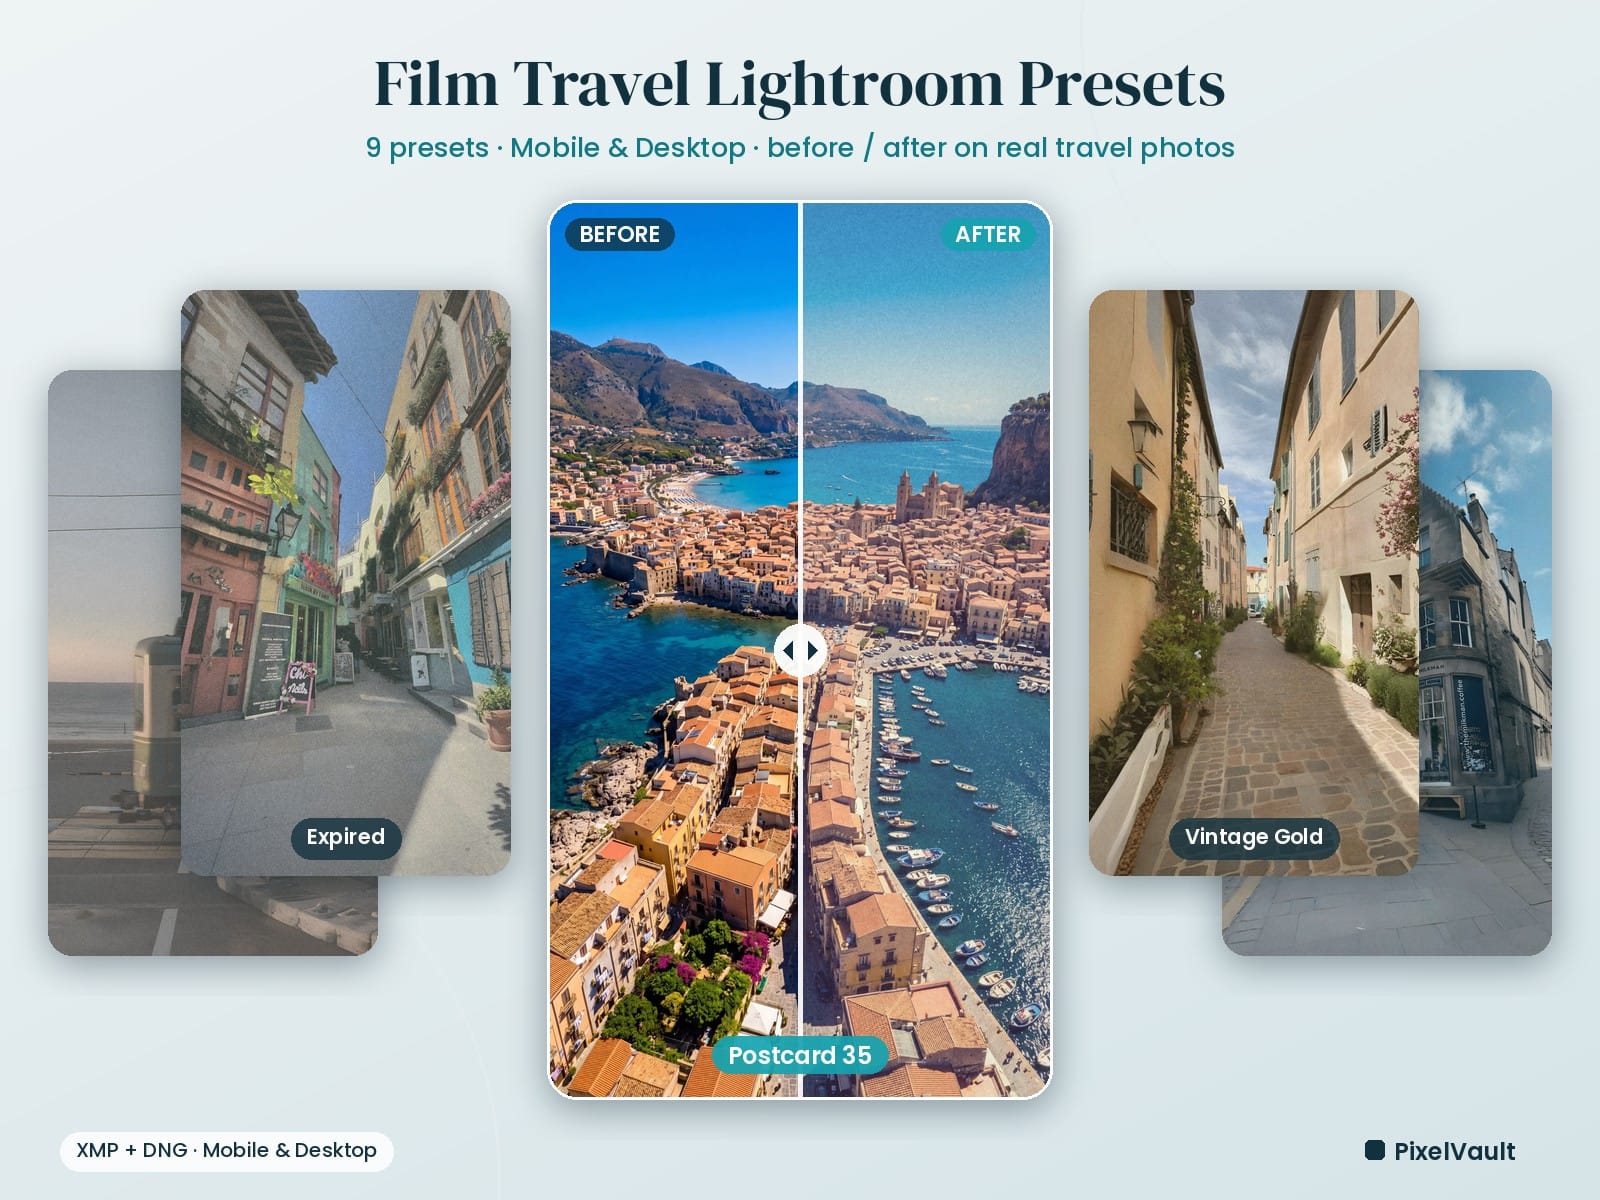
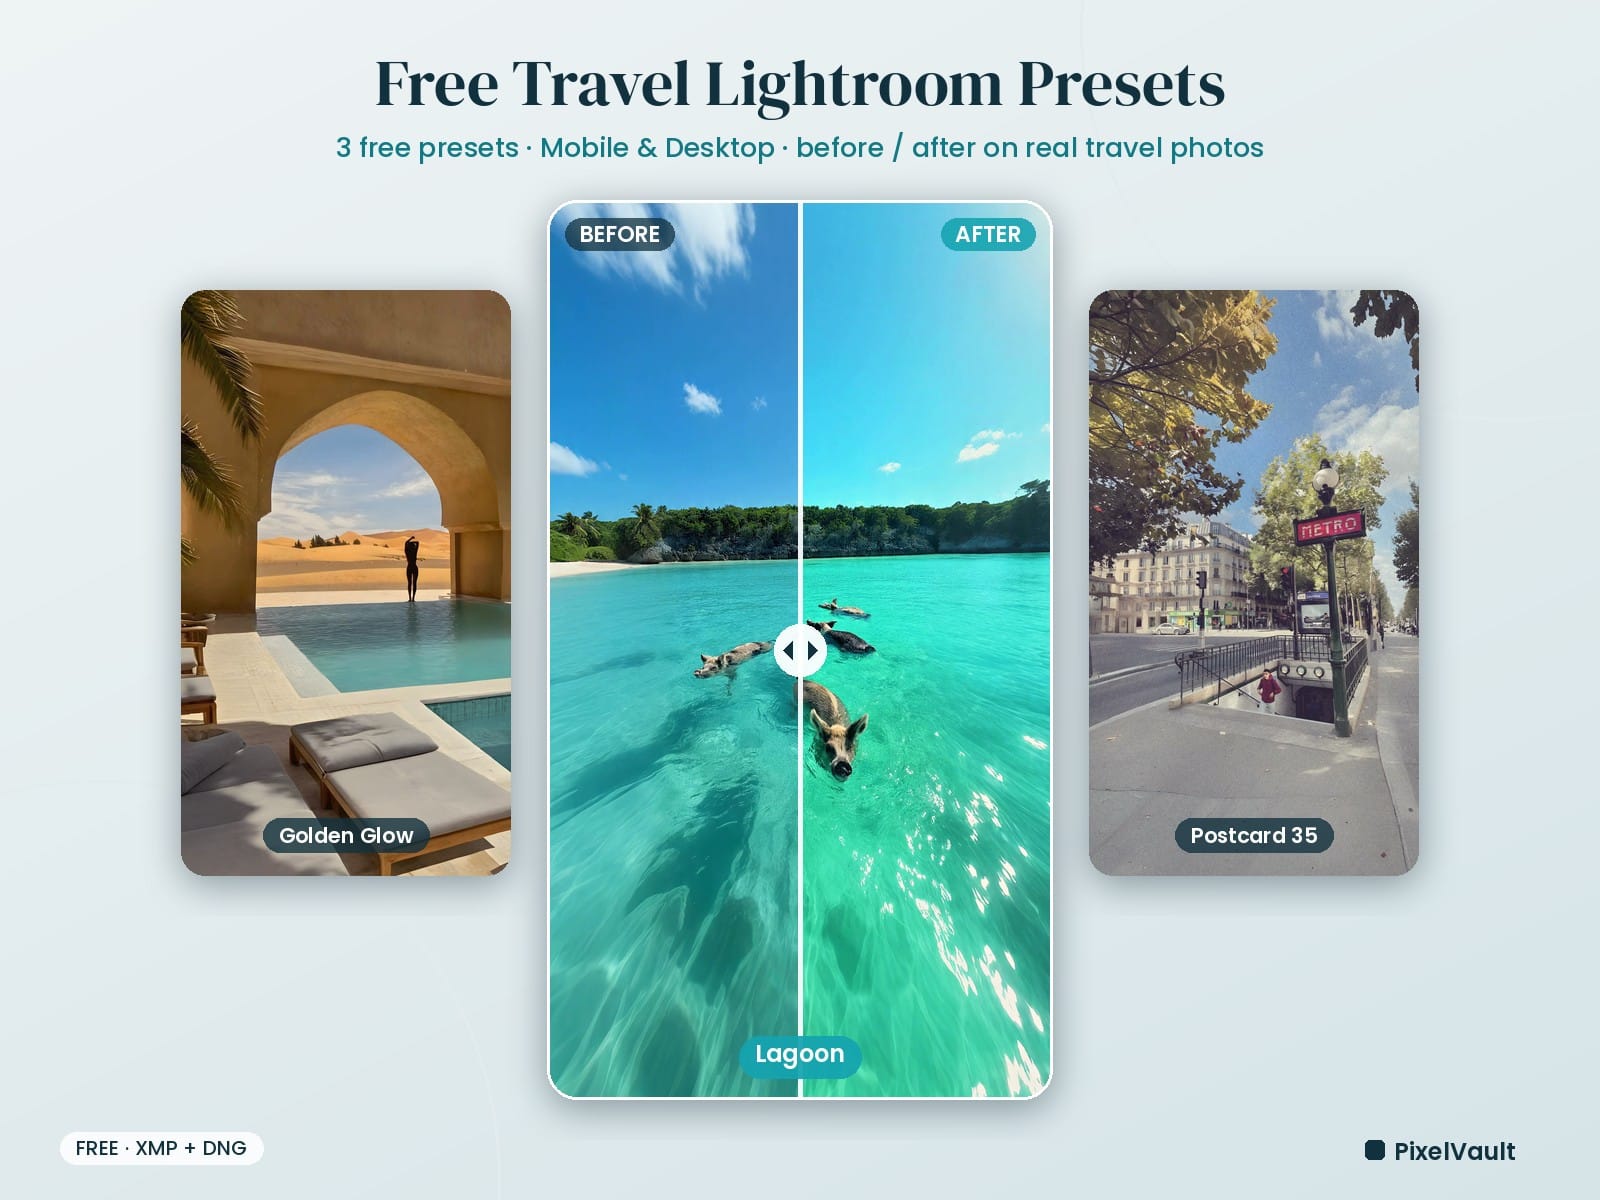
Choose a preset whose example photo resembles your image in brightness, color, and direction of light.
Apply once
Apply the preset without stacking several looks, then judge the whole image before changing details.
Correct the basics
Adjust exposure, white balance, highlights, shadows, and saturation until the photo fits the scene.
Save your version
Create a new preset from your finished settings and give it a name that describes the light or subject.
4. Choose a starting preset that fits the photo
A preset saves a group of editing values. Those values came from a particular photo, camera, lens, lighting setup, and creative goal. Your image will contain different starting values, so the same preset can look soft on one photo and harsh on another.
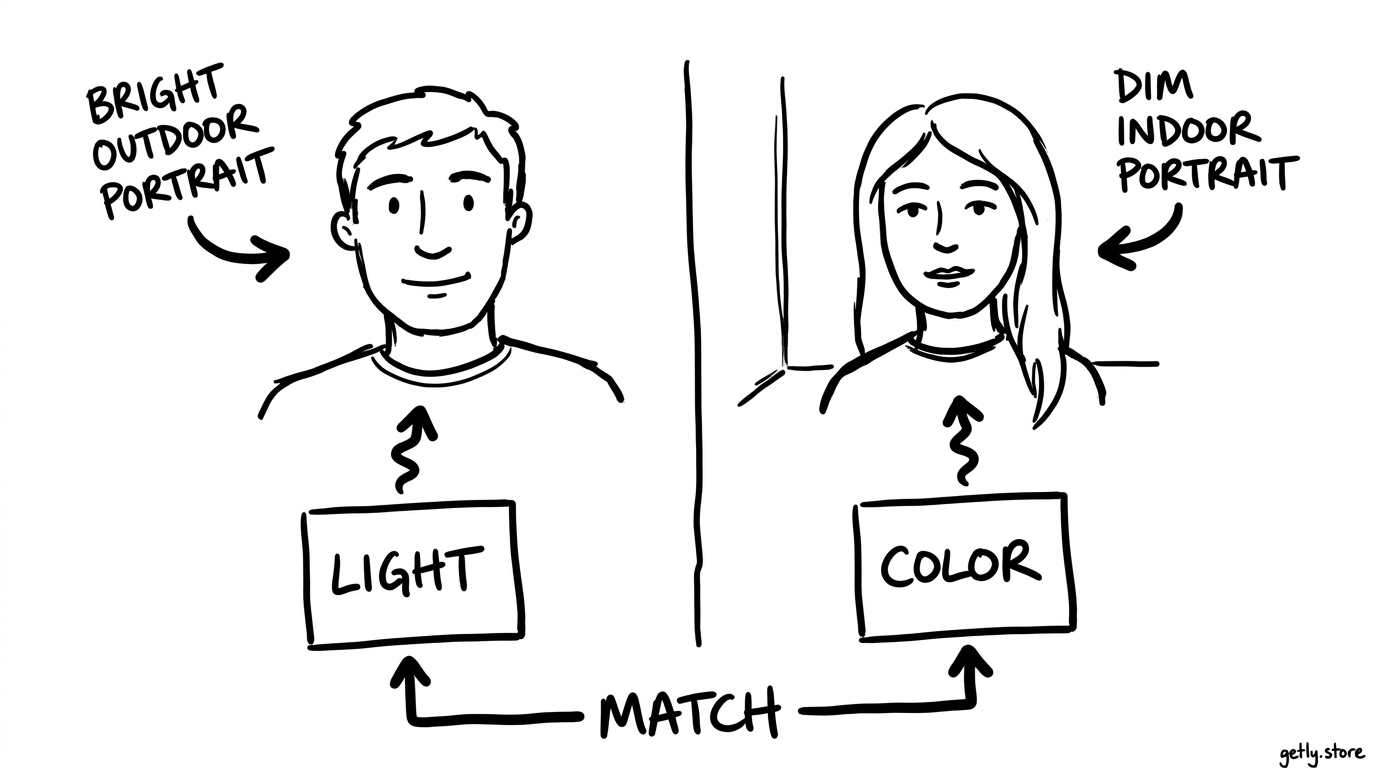
Compare the preset’s example image with your photo before you apply anything. Look at four traits:
- Light level: A bright outdoor portrait needs a different starting point from a dim indoor portrait.
- White balance: A warm sunset image can handle a warm preset better than a blue, overcast image.
- Contrast: A high-contrast preset can remove detail from dark hair, black clothing, or deep shadows.
- Subject color: Skin, green foliage, painted walls, and food each expose color shifts in different ways.
Apply the closest match first. You can create a strong editorial look from a mismatched preset, but you will spend more time correcting the image. A close match lets the preset handle style while you handle the photo’s specific conditions.
5. Adapt the preset instead of treating it as a filter
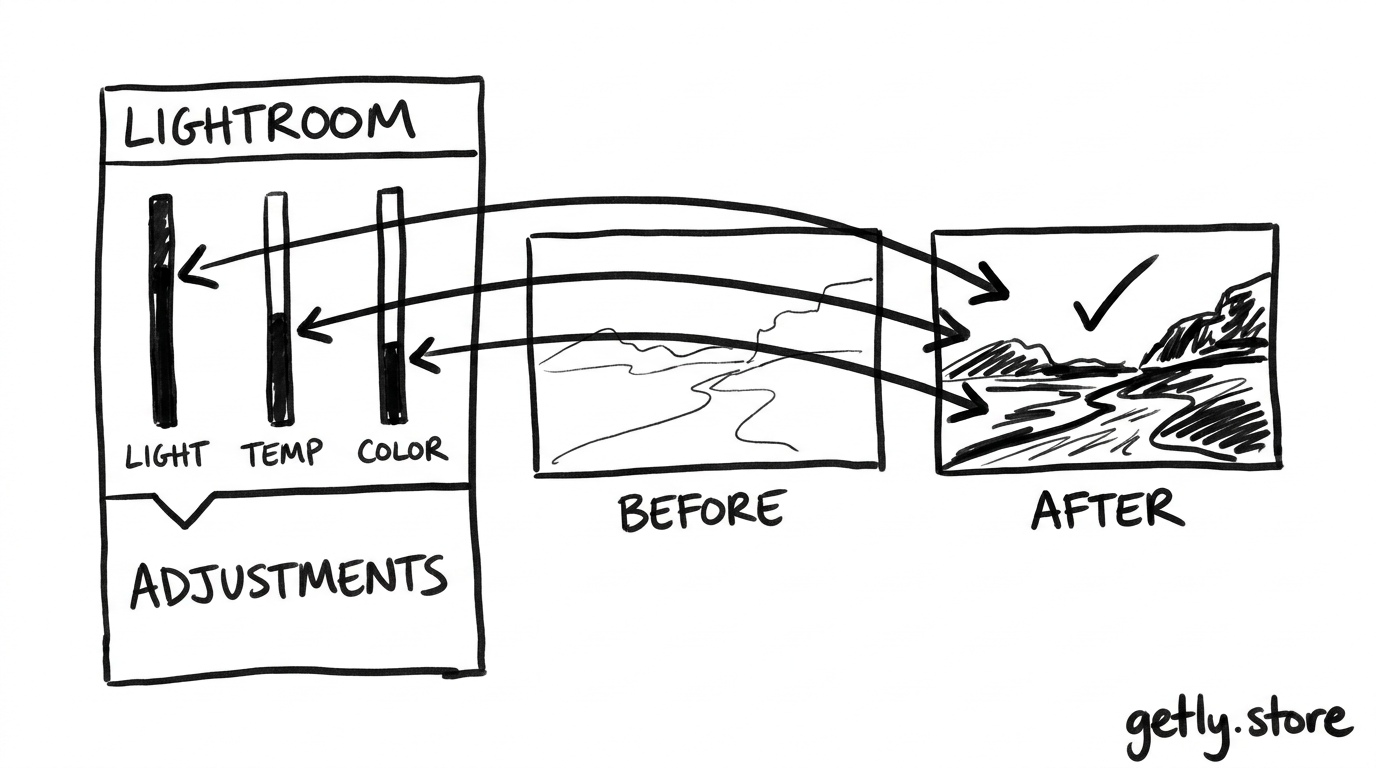
Start with global corrections. These changes affect the entire frame and usually solve the largest problems fastest.
- Set exposure. Raise or lower brightness until the subject looks correctly lit. Use the histogram and highlight warning when bright areas look uncertain.
- Set white balance. Move temperature and tint until neutral objects look neutral and skin looks believable.
- Protect highlights and shadows. Lower highlights when windows, clouds, or white clothing lose texture. Raise shadows when faces or dark clothing lose useful detail.
- Control contrast. Reduce contrast if the preset creates harsh edges. Add a small amount if the image looks flat after exposure correction.
- Check saturation. Lower global saturation when the preset pushes every color too far. Use individual color controls when only one hue causes trouble.
Check the crop and composition after the global adjustments. A preset cannot fix a distracting background, a tilted horizon, or a subject that sits too close to the frame edge. Crop with the intended use in mind, such as a square social post, a vertical story, or a wide banner.
Next, inspect color by subject. Green foliage often turns neon when a preset raises saturation. Orange skin can become too red or too yellow. Blue skies can lose texture when you lower luminance too far. Use the color mixer to correct the problem hue instead of weakening every color in the photograph.
Do
- Adjust exposure and white balance before judging the final color.
- Lower the strength of an effect when texture starts to disappear.
- Use masks for a face, sky, or background that needs separate treatment.
Don't
- Stack several presets to force a stronger look.
- Judge skin color from a tiny thumbnail.
- Raise clarity, dehaze, and sharpening together without checking fine texture.
Use masks for local problems
Global controls cannot separate a bright sky from a darker subject. Use a mask when one area needs a different correction. You might lower the sky’s highlights, lift a face, reduce saturation in a colored wall, or soften a busy background.
Keep local adjustments smaller than the main preset unless you want a deliberate dramatic effect. Zoom out after each mask and check whether the edit still looks natural at the size where viewers will see it.
6. Save a personal variation and export with care
Save your adapted version only after you finish the image. Open the preset creation command, choose the settings you want to reuse, and give the result a practical name. Include the situation in the name, such as “Indoor Window Portrait” or “Overcast Greenery.”
Decide whether the new preset should include exposure and white balance. Those values depend heavily on each photo, so many photographers leave them out of reusable presets. A preset that includes tone curve, color mix, effects, and detail settings can provide a consistent look while leaving brightness and temperature for manual adjustment.
Export a test copy before you process a whole folder. Check the image on the device or platform where you plan to publish it. Look for clipped highlights, crushed shadows, strange skin color, halos around the subject, and excessive sharpening. If the image passes that check, sync or copy the adapted settings to similar photos and make small exposure changes from frame to frame.
Keep the original file and the edited version together. A non-destructive Lightroom workflow lets you return to the raw image, change the preset choice, or create a different crop without degrading the source.
Common mistakes with Lightroom presets
Installing the ZIP instead of extracting it. Open the archive first and locate the XMP or DNG files. The archive itself does not give Lightroom usable editing settings.
Applying a portrait preset to every subject. Skin tones react quickly to temperature, tint, orange saturation, and luminance. Choose a portrait preset for similar lighting, then inspect the face at a larger view.
Ignoring exposure differences. A preset cannot know that your photo has two stops less light than its example. Correct exposure before you decide that the preset looks wrong.
Using several presets at once. Each new preset can replace earlier values, making the final result hard to diagnose. Return to the original image, choose one starting preset, and build from there.
Saving every finished photo as a preset. Save a variation only when you can name the situation where it works. A small, organized collection makes future editing faster than a long list of near-duplicate looks.
FAQ
Do Lightroom presets work on JPEG files?
Yes. You can apply presets to JPEG files, but raw files usually give you more room to recover highlights, lift shadows, and adjust white balance. Expect to make smaller corrections with a JPEG.
Why does a preset look different from its preview?
The preview and your photo may use different exposure, white balance, camera profiles, lenses, or lighting. Apply the preset, then correct exposure and temperature before you compare the style.
Should I adjust exposure before applying a preset?
Apply the preset first when you want to see its complete starting point, then correct exposure and white balance. This sequence helps you understand which change came from the preset and which change came from your own adjustment.
How do I make one preset work across a full photo session?
Choose a preset that matches the session’s light, apply it to a representative image, and refine the global color and tone. Sync those settings to similar frames, then adjust exposure and white balance for each image that differs.
Frequently asked questions
Do Lightroom presets work on JPEG files?
Yes. You can apply presets to JPEG files, but raw files usually give you more room to recover highlights, lift shadows, and adjust white balance. Expect to make smaller corrections with a JPEG.
Why does a preset look different from its preview?
The preview and your photo may use different exposure, white balance, camera profiles, lenses, or lighting. Apply the preset, then correct exposure and temperature before you compare the style.
Should I adjust exposure before applying a preset?
Apply the preset first when you want to see its complete starting point, then correct exposure and white balance. This sequence helps you understand which change came from the preset and which change came from your own adjustment.
How do I make one preset work across a full photo session?
Choose a preset that matches the session’s light, apply it to a representative image, and refine the global color and tone. Sync those settings to similar frames, then adjust exposure and white balance for each image that differs.