Getly
Getly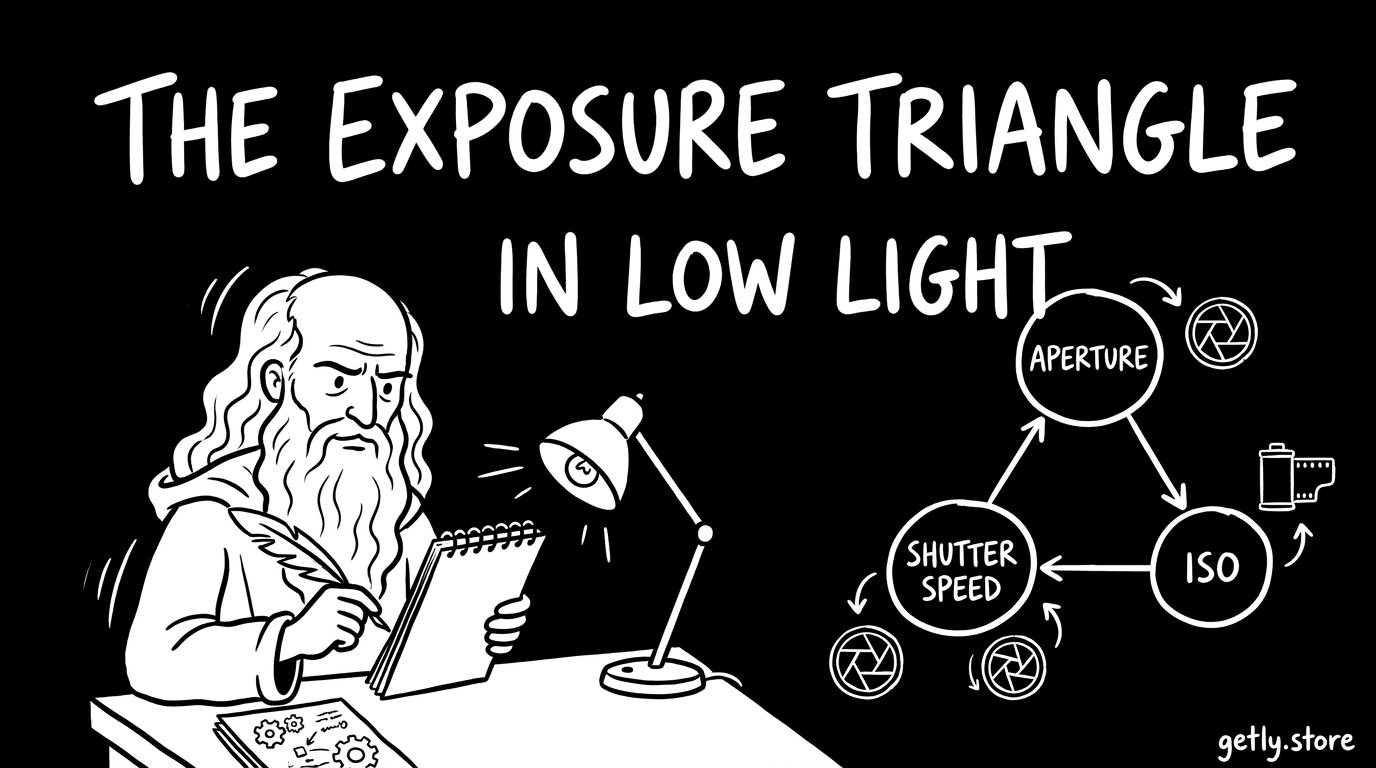
By the end of this guide, you can read the exposure triangle, predict how each setting will change a photo, and choose a sensible starting point in dim light. You will also know which setting to sacrifice when you cannot keep aperture, shutter speed, and ISO in their ideal ranges.
Learn what each side controls
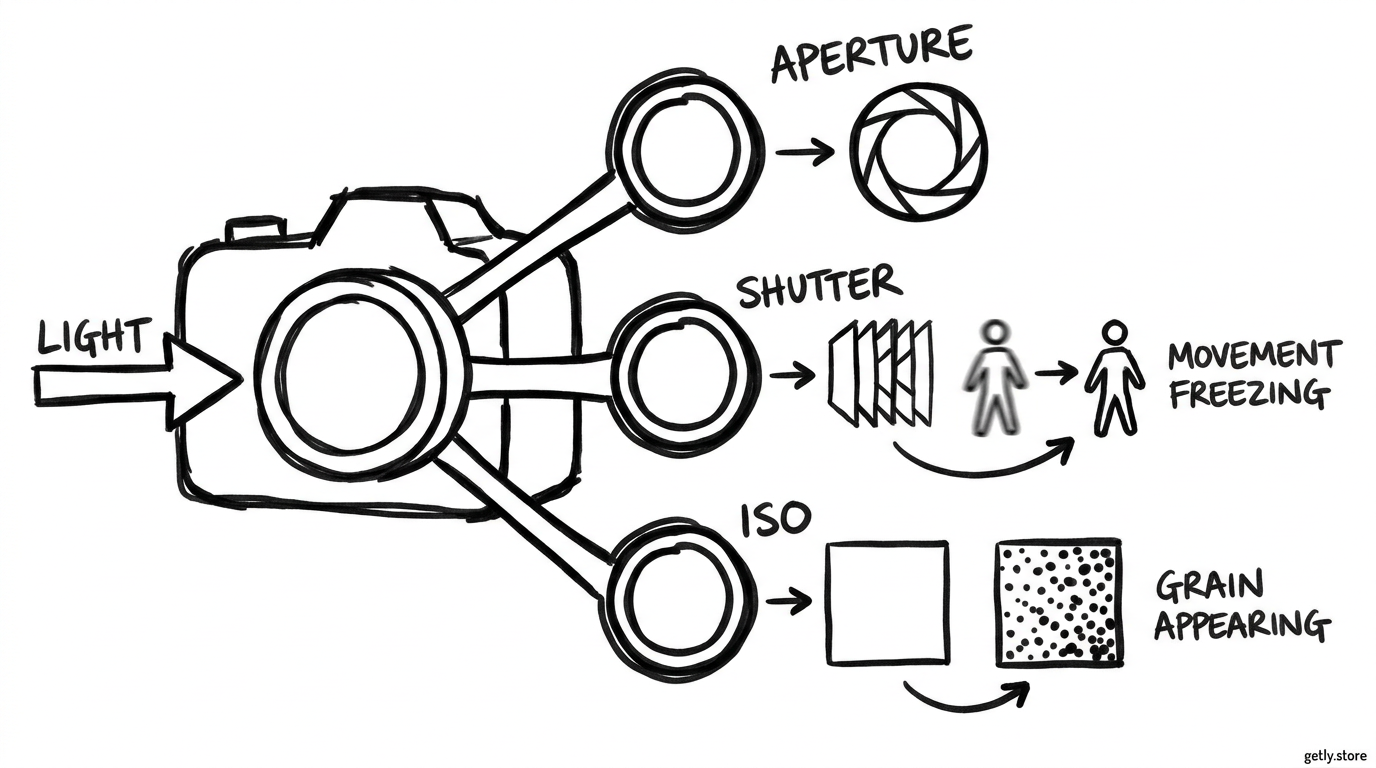
Your camera builds an exposure from three settings: aperture, shutter speed, and ISO. Each setting changes brightness, but each one also changes the look or technical quality of the image.
- Aperture controls the size of the lens opening. A wider opening lets in more light and creates a shallower depth of field.
- Shutter speed controls how long the sensor receives light. A longer exposure brightens the frame but records more movement.
- ISO controls the sensor's amplification of the captured signal. A higher value helps you use faster shutter speeds or smaller apertures, but it adds noise and reduces some detail.
Photographers measure changes in exposure with stops. One stop doubles or halves the light reaching the sensor. For example, moving from 1/60s to 1/30s gives the sensor twice as much time. Moving from ISO 400 to ISO 800 doubles the amplification. Moving from f/4 to f/2.8 opens the aperture by one stop.
The settings interact. If you close the aperture by one stop, you can recover the same brightness by slowing the shutter by one stop or raising ISO by one stop. The brightness may match, but motion blur, depth of field, and noise will change.
Start with the setting that protects the subject
Choose the setting that matters most for the scene before you adjust exposure. A moving subject needs a shutter speed that limits blur. A portrait may need an aperture that keeps the face sharp while softening the background. A static landscape may need a small aperture for depth of field.
Set shutter speed for movement
Start with shutter speed when your subject moves or when you hold the camera by hand. A person walking may need around 1/125s. A running child may need 1/500s or faster. A stationary subject can tolerate a slower speed if you hold the camera steadily.
Use the reciprocal rule as a starting point for camera shake. With a 50mm lens, try 1/50s or faster. With a 24mm lens, try 1/25s or faster. Image stabilization can let you handhold at slower speeds, but it cannot freeze a moving person, animal, or vehicle.
Set aperture for depth of field
Use a wide aperture such as f/1.8 or f/2.8 when you need more light or a blurred background. Focus becomes less forgiving at those settings. At a close portrait distance, one eye may look sharp while the other eye falls outside the depth of field.
Use f/4, f/5.6, or f/8 when you need more of the subject in focus. A smaller aperture reduces the light, so you may need a slower shutter or higher ISO. Landscape photographers often accept a slower shutter when a tripod can hold the camera still.
Set ISO after you choose the creative priority
Keep ISO as low as the scene allows, then raise it when the other settings would damage the picture more. ISO 100 or ISO 200 can produce clean files in bright light. ISO 800, 1600, or higher may produce a better result in a dark room if the alternative creates motion blur.
Build an exposure from a real scene
Use this sequence when you enter a dim location. It keeps the decision tied to the subject instead of turning the exposure triangle into a guessing exercise.
Check the subject
Decide whether movement, depth of field, or camera shake creates the biggest risk.
Set the priority
Choose a shutter speed for action, an aperture for depth, or a tripod-supported speed for a static scene.
Open the aperture
Use the widest useful aperture to gather light before you increase ISO.
Raise ISO
Increase ISO until the meter reaches a workable exposure without sacrificing the subject's motion or focus.
Inspect the frame
Zoom into the subject's eyes, hands, or other important detail and check for blur, clipped highlights, and distracting noise.
Suppose you photograph a singer in a dark venue. Set 1/250s if the singer moves across the stage. Open the lens to f/2.8. If the meter still shows an underexposed frame, raise ISO from 800 to 1600, then check the singer's face at full preview size. A little visible grain usually beats a blurred expression.
Suppose you photograph a building after sunset from a tripod. Set ISO 100, choose f/8 for the required depth of field, and let the shutter run for several seconds. The tripod removes camera shake, so you can spend the available light on detail instead of raising ISO.
Choose what to sacrifice in low light
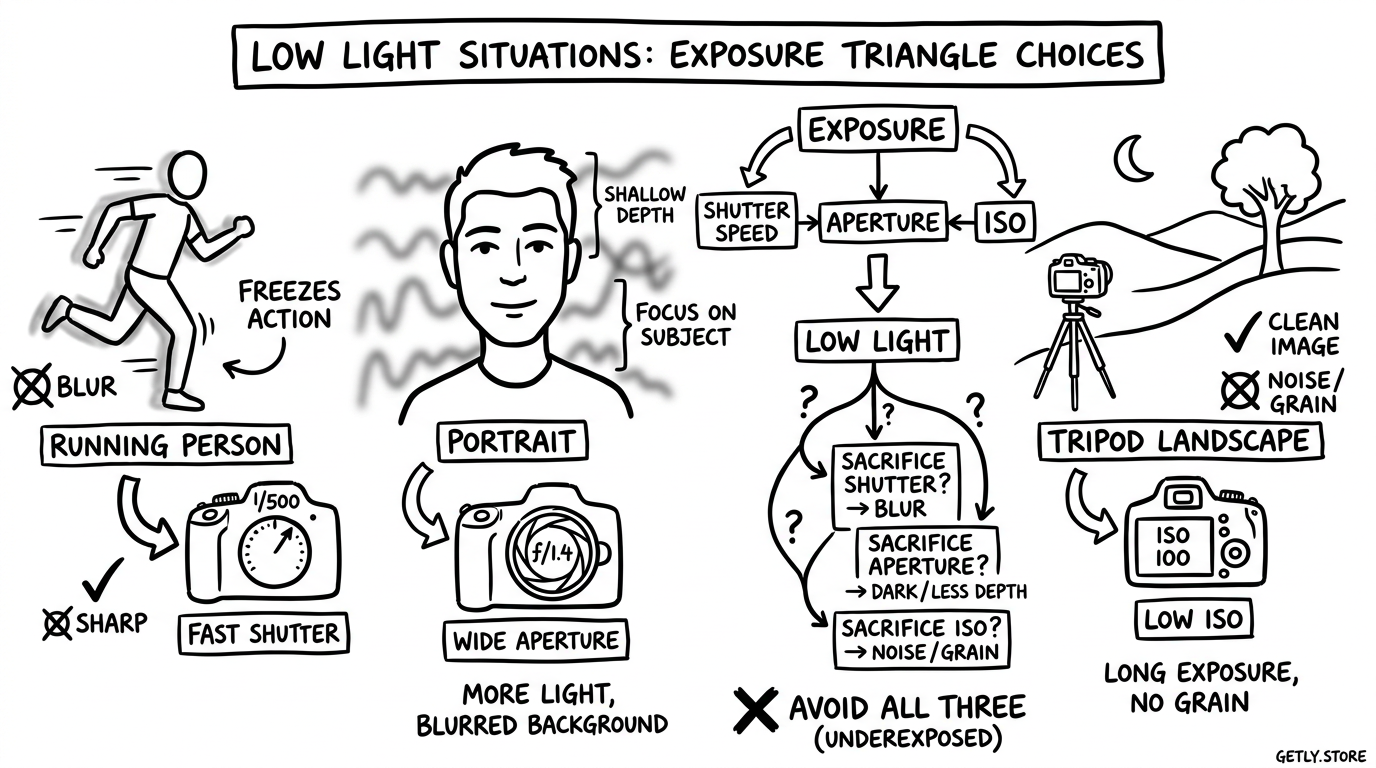
Low light forces a trade-off. The right sacrifice depends on what the image must preserve.
Protect motion before ISO
Raise ISO when a slower shutter would blur an important subject. A sharp image at ISO 3200 often holds more useful information than a clean image at ISO 400 with a moving subject. Keep the shutter fast enough for the action, then accept the noise that follows.
Protect focus before shutter speed
Open the aperture when you need a faster shutter and can manage a shallow depth of field. For a single subject, f/1.8 may work well. For two people standing at different distances, f/2.8 or f/4 may protect both faces, even if ISO rises.
Protect image quality when the subject stays still
Use a tripod or a stable surface for architecture, products, interiors, and night landscapes. Keep ISO low and choose the aperture that gives the depth of field you need. A long shutter becomes the least costly sacrifice because the subject and camera can remain still.
Flash or continuous light can change the trade-off. Added light lets you keep a lower ISO or faster shutter, but it changes shadows, reflections, and the mood of the scene. Place the light with the subject's surface and background in mind rather than treating brightness as the only goal.
Do
- Raise ISO when motion blur would ruin the subject.
- Use a tripod for static scenes and long exposures.
- Check critical details at full preview size.
Don't
- Choose a slow shutter for a moving subject just to keep ISO low.
- Use the widest aperture without checking depth of field.
- Judge sharpness from a small thumbnail.
Fix exposure without losing the subject
Use the exposure meter as a guide, not as the final decision. Dark backgrounds can make the camera brighten a subject too much, while bright windows can make a face too dark. Review the histogram and the important highlights after each test frame.
If the face looks too dark but the window looks correct, add light, change position, or accept a brighter exposure if the camera can retain the window detail. If the face looks sharp but the frame looks noisy, ask whether the noise distracts more than motion blur would. That comparison tells you which setting to change.
Keep a short record of combinations that work in places you photograph often. A dim café might suit 1/125s, f/2, and ISO 1600 for candid portraits. A museum display might suit 1/30s, f/4, and ISO 800 if you brace the camera. Treat these as starting points, because subject distance, lens choice, and available light change the result.
Common mistakes to avoid
- Confusing f-numbers. A smaller f-number means a wider opening. Moving from f/4 to f/2.8 adds light, while moving from f/4 to f/5.6 removes light.
- Using the reciprocal rule for moving subjects. The rule addresses camera shake. A person walking can still blur at 1/50s even with a wide lens.
- Keeping ISO low at any cost. Low ISO cannot rescue a frame that contains subject blur or missed focus.
- Opening the aperture beyond what the scene needs. A group portrait may require more depth of field than f/1.4 provides.
- Trusting the meter without reviewing the subject. A balanced meter reading can still leave a face, product label, or bright highlight poorly exposed.
Practice by changing one stop at a time. Hold two settings steady, change the third, and compare the brightness, blur, depth of field, and noise. After a few sessions, you will choose the sacrifice before the scene forces you into it.
Frequently asked questions
What is the exposure triangle?
The exposure triangle describes the relationship between aperture, shutter speed, and ISO. Each setting changes image brightness, while also affecting depth of field, motion blur, or image noise.
Which exposure setting should I change first in low light?
Change the setting that protects the subject's main requirement. Use shutter speed first for movement, aperture first for depth of field, and a longer shutter with a tripod for a static scene.
Should I use a slower shutter speed or higher ISO at night?
Use a slower shutter for a static subject when you can stabilize the camera. Use higher ISO when a slower shutter would create motion blur or camera shake.
Does a lower ISO always produce a better photo?
Lower ISO usually produces less visible noise, but it does not guarantee a better photo. A higher ISO can produce a sharper, more useful image when it allows a suitable shutter speed.
What does one stop mean in photography?
One stop means a doubling or halving of the light reaching the sensor. You can gain one stop by doubling shutter time, doubling ISO, or opening the aperture from f/4 to f/2.8.